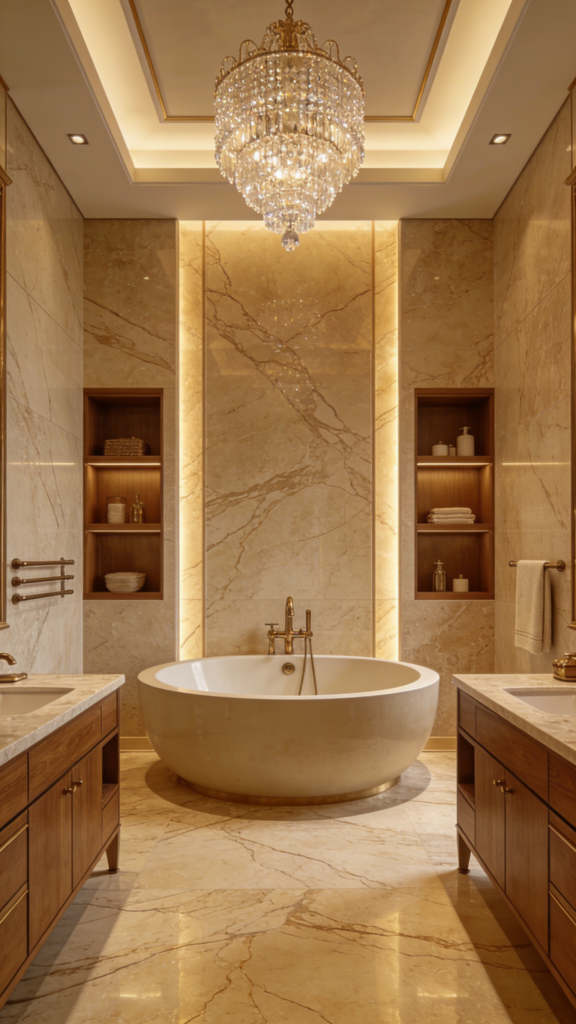

A renovation contractor in Dubai won a 40-room hotel bathroom upgrade. The client wanted every vanity floating off the floor, with a clean gap beneath each unit so the housekeeping team could reach the tiles easily with a mop. The first unit went in over a lightweight partition wall that looked solid from the front. Two weeks later, the vanity sagged 8 mm at the front edge. The stone top developed a hairline crack at the basin cutout. The contractor paid for a second wall, a second top, and a very difficult conversation.
Floating vanity units fail for structural reasons, not cosmetic ones, and the fix is always more expensive than the prevention. This guide covers the wall prep, the bracket system, the mounting height, and the concealed plumbing. Those four decisions decide whether a floating unit stays level for ten years.
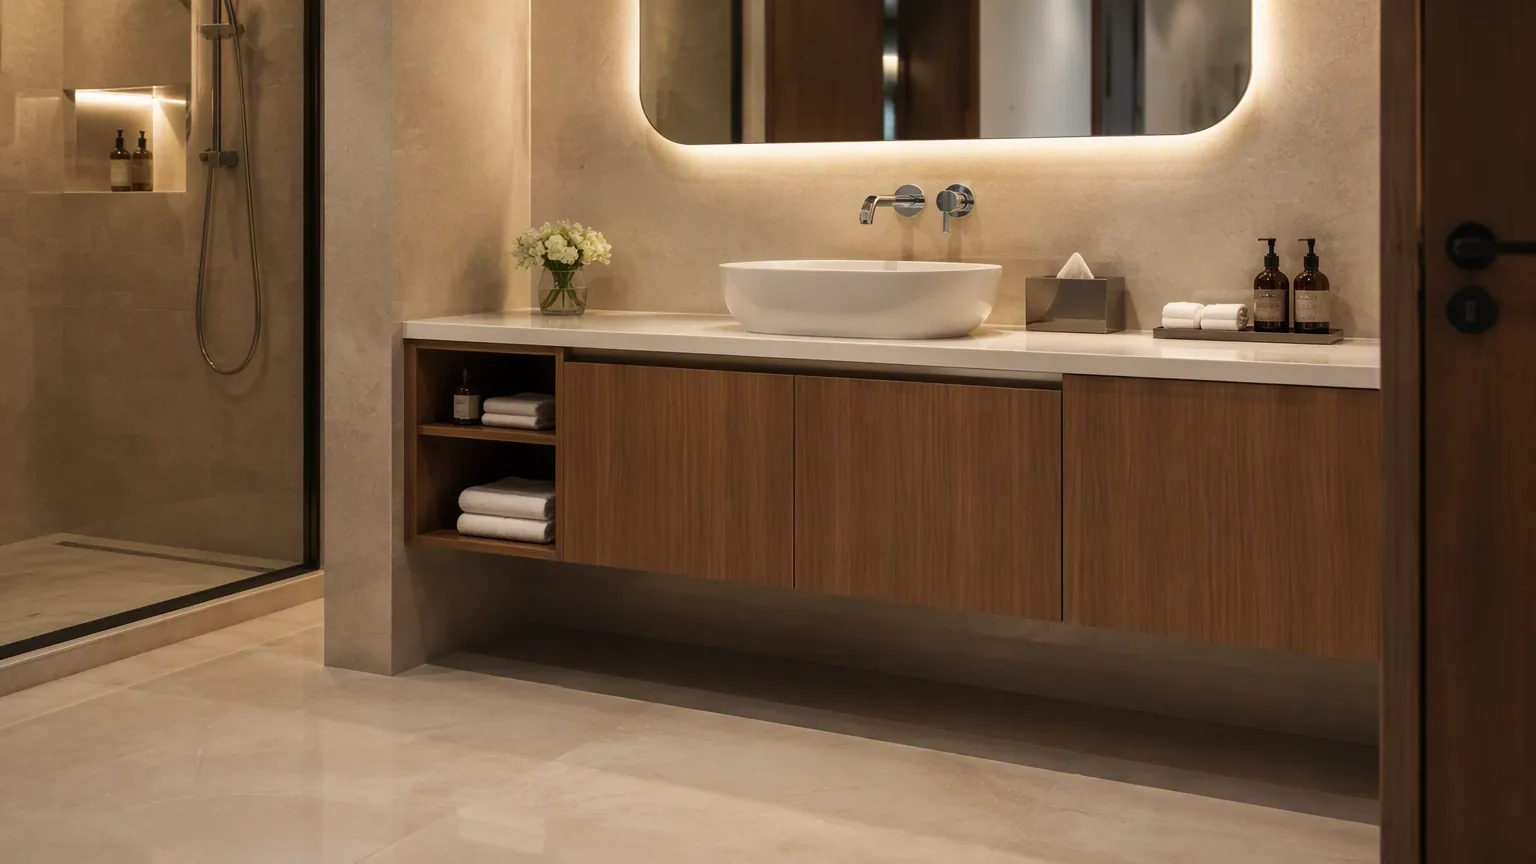
Why Wall Hung Vanity Units Keep Winning Specs
A floating vanity clears the floor, and that simple detail drives most of the demand. Housekeeping can clean under the unit without kneeling. The open floor line makes a small bathroom look larger. In accessible bathrooms, the clearance under the unit matches what the code requires for a forward approach. Basin heights follow the ADA Standards.
The commercial case is about durability too. A floating unit never sits in a puddle of mopping water. The cabinet base does not swell the way a floor-standing base does. Hotels and clinics like that, because it removes the most common repair trigger. The concept goes back to the vanity desk, which evolved from furniture into a fixed plumbing fixture.
Wall Structure: The Decision That Comes First
The wall must carry the unit, the countertop, the basin, and the water in the pipes. That total is heavier than most people expect, and it is the reason a wall hung vanity needs a structural check before anything is ordered.
For a single basin unit with a stone top, plan on 60 to 120 kg of finished weight. A double basin unit with a wide stone top pushes toward 180 kg. Add the water in the basin and the weight of a person leaning on the countertop. The design load climbs quickly, and the bracket spec should be selected against that working number, not against the cabinet weight printed on the box. The wall has to carry that load plus a safety factor. A drywall partition with metal studs will not do it without reinforcement.
Check the partition type early in the design. A lightweight stud wall can be upgraded with a plywood layer across the full width of the vanity. Fix the layer to the studs with screws at 200 mm centres. The layer needs to be in place before the plasterboard goes on. The decision belongs at the framing stage, not at the fixing stage.
Solid concrete or block walls carry a floating unit directly with expansion anchors. The anchor depth and the bracket spacing come from the vanity manufacturer, and the installation follows the drill pattern exactly. Do not substitute generic wall plugs for the anchors in the box. The expansion torque and the embedment depth are part of the load rating, and a shorter plug changes the failure point.
Check the concrete condition before drilling. Hollow block, brick veneer, and poured concrete behave differently, and a hammer drill set to the wrong mode will tear the fixing zone. On renovation jobs, tap the wall first to find the solid sections, then mark the bracket positions on the solid area.
Timber frame walls need blocking between the studs at the bracket height. The blocking transfers the bracket load into the studs. Without it, the screws pull out of the drywall within months.
Metal stud partitions are the case that gets missed. A floating unit on a metal stud wall needs plywood or a steel spreader plate fixed across the studs at the mounting height. Specify this before the wall is closed. Retrofitting reinforcement after tiling is a demolition job.
Bracket Systems and Load Ratings
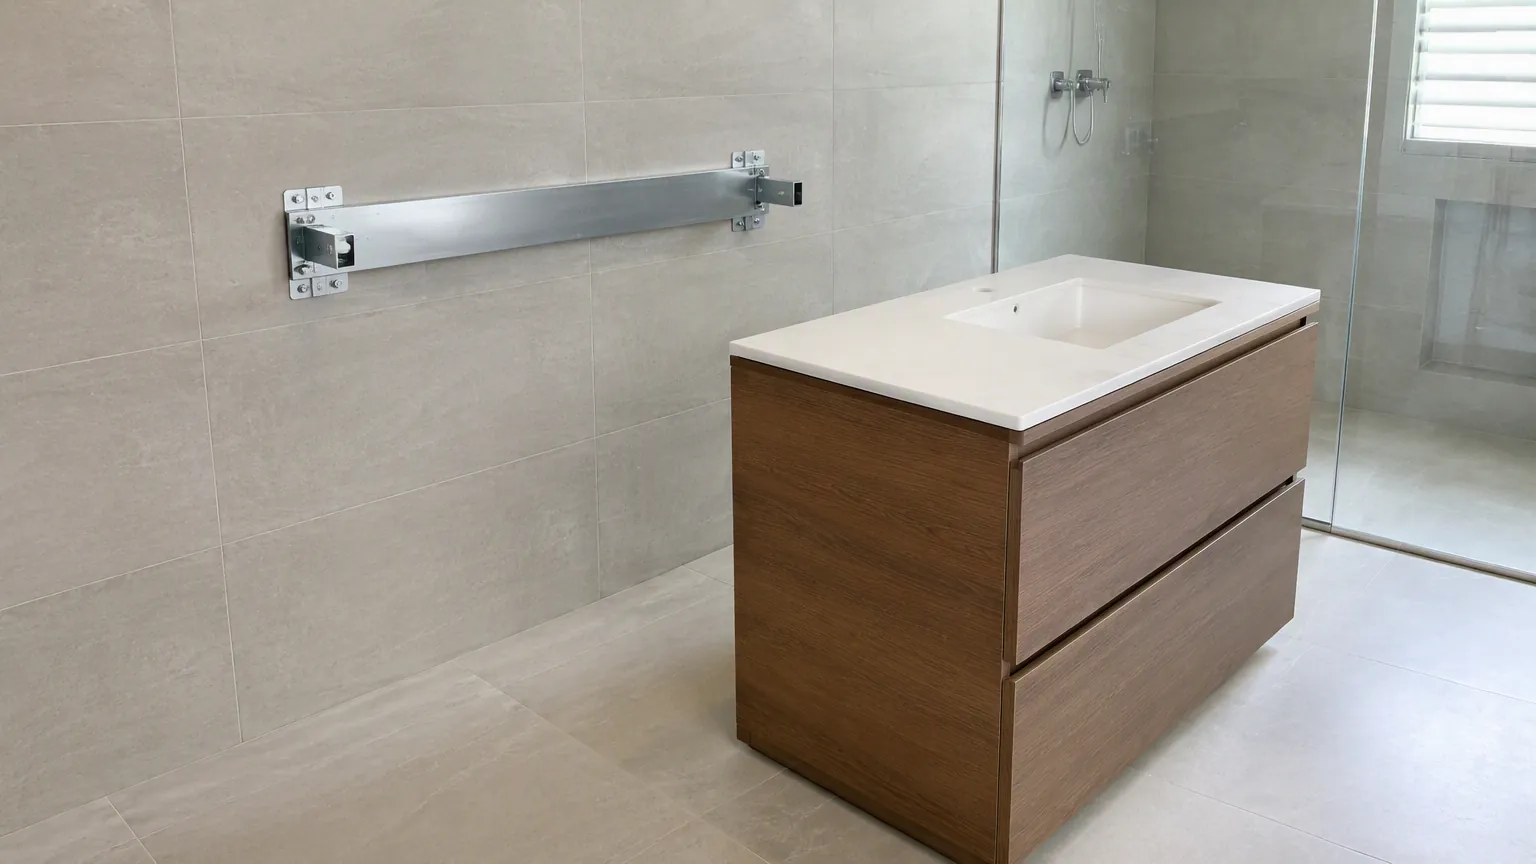
The bracket is the load path between the cabinet and the wall, and it comes in three main forms. Each form suits a different wall condition, so match the system to the building, not to the catalogue.
Heavy-duty steel brackets bolt to the wall and carry the cabinet on a rail, and they are the default for any wall hung vanity with a stone top. They suit stone tops and double basins, and the rating is published by the manufacturer. Check the fixing centres against the cabinet width. A 900 mm unit on brackets rated for 600 mm spacing is only as strong as the shorter span.
Ask the factory for the test report when the unit will carry a stone top. A bracket that passes a static load test at the factory may still flex under a person leaning on the countertop. The rating should include a service factor, not just the break point.
Concealed wall-hung frames work like toilet carrier frames. They stand on the floor or fix to the wall, and the vanity hangs from the frame. This system suits projects where the wall itself is light and cannot take a direct bracket load.
Cabinet-mounted brackets ship with the vanity and suit lighter units without stone tops. The rating is lower, and the fixing pattern assumes a solid wall or added blocking.
Ask for the bracket rating in kilograms and compare it with the finished weight of the unit. A vanity rated for 80 kg will not carry a 100 kg stone top safely, whatever the brochure says. When the numbers sit close, step up one bracket class and sleep through the warranty period.
Mounting Height and Clearances
The standard mounting height for a floating unit puts the countertop between 820 and 860 mm above the finished floor surface. That range matches the comfortable basin height for most adults. It also lines up with the rim heights in the ADA Standards when an accessible unit is required.
The clearance below the unit matters as much as the top height. A standard unit sits with 150 to 250 mm of floor clearance. Accessible units need more, and the code sets the toe and knee space for a forward approach.
Confirm the height before the wall is finished. The bracket holes have to be drilled at the right level, and moving them after tiling means patching tile. Write the finished floor level into the elevation drawing. Mark the bracket height on site from that datum rather than from the subfloor, which can vary by 20 mm across a slab.
Concealed Plumbing: Supply and Drainage
The point of a floating unit is that nothing shows underneath, which means the pipes have to run inside the wall or in a hidden channel.
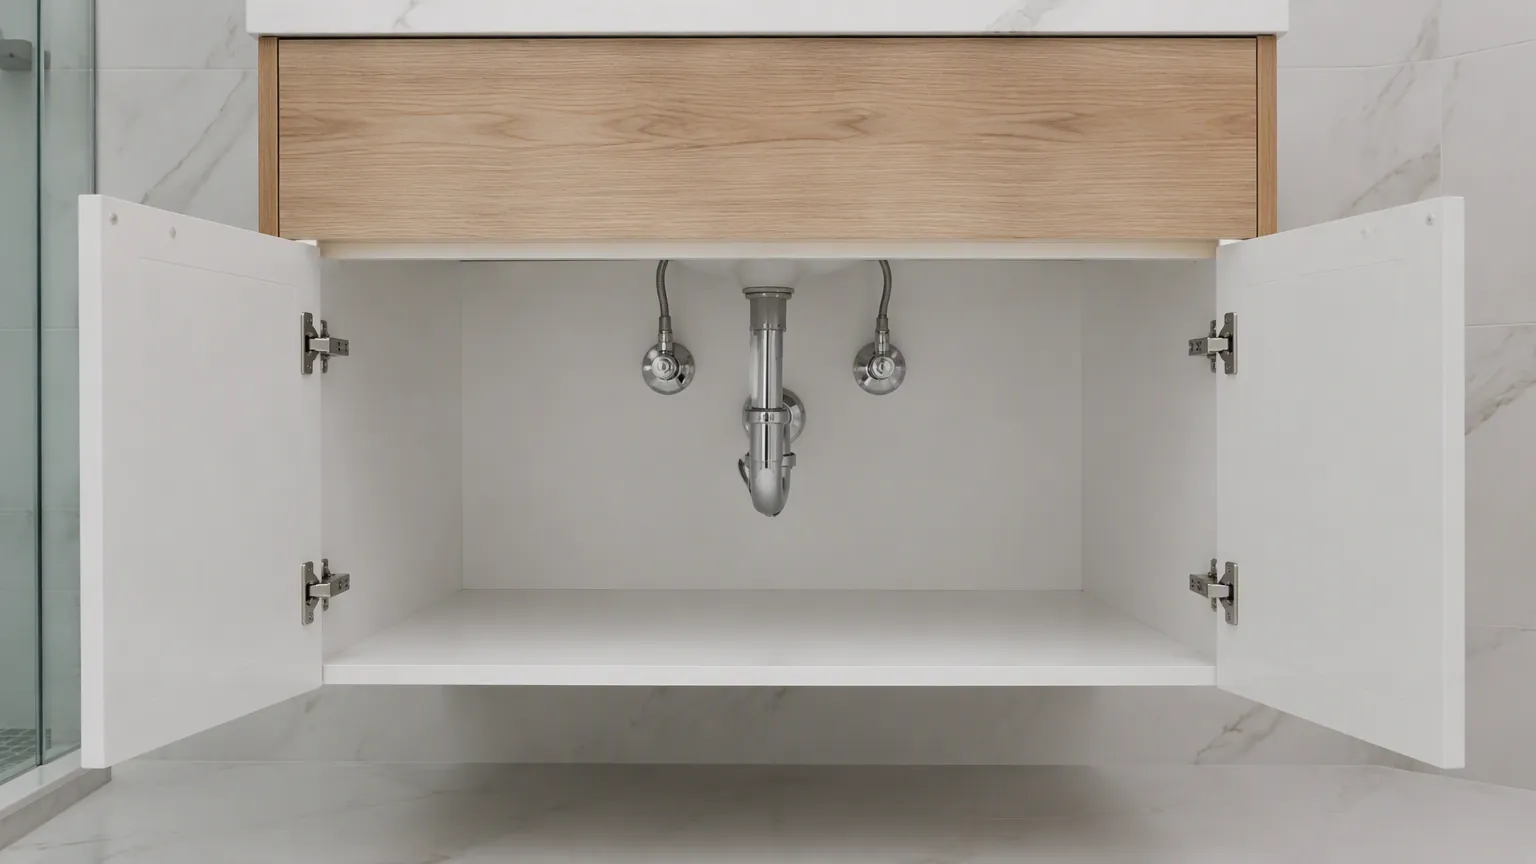
Supply lines run up inside the wall cavity and exit at the basin mixer height. Confirm the mixer hole pattern on the countertop before drilling, because single-hole and three-hole mixers need different rough-in spacing. The stops sit inside the cabinet, where a leak can be shut off without removing the unit. Label each stop for the maintenance team, and note the shut-off position in the handover folder. Use quarter-turn stops with a compression fitting. Leave the access side clear of shelves so the maintenance hand can reach the handle.
For twin basins on one unit, run each supply separately back to the manifold or the branch line. Tapping both mixers off a single tee doubles the pressure drop at the furthest outlet. That flow complaint always lands back on the contractor.
The drain is the harder part, because the trap has to sit inside the cabinet footprint while the waste outlet runs behind the unit. The ICC codes set the waste and vent rules, and labeled faucets bring the fixture into the WaterSense program. A floating unit over a floor drain outlet needs the waste pipe to run through the wall and transition to the outlet below, which is the drainage layout most wall hung vanity suppliers draw first. A unit over a wall outlet connects directly to the stub-out. Either way, the drain slope has to be correct, and the trap has to be reachable. A service hatch in a side panel or a removable plinth keeps the trap accessible without pulling the whole unit off the wall.
Plan the pipe positions before the wall closes. The supply and the waste have to land inside the cabinet footprint. A 20 mm offset in the drawings becomes a visible pipe in the finished bathroom.
Countertop and Basin Weight Limits
Stone countertops are the usual weight problem. A 20 mm quartz or granite top for a 900 mm vanity weighs 25 to 40 kg on its own. A ceramic or stone basin adds another 10 to 20 kg.
Check the weight rating against the top plus the basin plus the water. If the number is close, step up to the next bracket system instead of trusting the margin.
Lighter tops solve the problem too. Solid surface and compact laminate tops weigh a fraction of stone. They suit projects where the wall structure is already fixed and cannot be reinforced. For a wall hung vanity in a light partition bathroom, the laminate top is often the only safe choice. The trade-off is scratch resistance and the perception of quality in a hotel room. Match the top material to the building grade.
Whatever the top, the basin cutout stays the weak point. A top cut too close to the front edge loses its bending strength where the load sits. The hairline crack appears at the cutout corner within months.
Common Mistakes in Wall Hung Vanity Projects
The first mistake is choosing the vanity before checking the wall. Wall type decides the bracket system, and that decision determines which units are even possible.
The second mistake is forgetting the plumbing rough-in. Supply and drain have to be positioned for the exact cabinet depth, and a vanity ordered after the pipes are set rarely lines up.
A third common mistake is overtightening the basin waste. A floating cabinet has no floor support, so the pipe work takes movement that a floor-standing unit never sees. Flexible connections at the trap absorb that movement.
Ignoring the tile thickness is the fourth mistake. Measure the mounting height to the finished floor, and know the tile build-up before the brackets go in.
Skipping the load test rounds out the list. Fill the basin, load the countertop, and check for movement before the caulk goes on.
Wall Hung vs Floor-Standing: Structural Comparison
| Consideration | Wall Hung Vanity | Floor-Standing Vanity |
|---|---|---|
| Wall structure required | Reinforced | Standard |
| Floor clearance | 150-250 mm | None |
| Cleaning access | Full | Limited |
| Concealed plumbing | Required | Optional |
| Weight capacity | Bracket-limited | High |
| Accessible clearance | Yes (with spec) | No |
The choice is rarely about looks alone. Floating units win where cleaning and accessibility matter, which is why the hotel and clinic sectors keep choosing them. Floor-standing units win where the wall is light, the budget is tight, and the loading is heavy. For rental or student housing, the floor-standing option is often the sensible call, because the occupants will load the unit in ways the brochure never imagined. Our bathroom vanity buying guide for contractors covers the material and construction markers for both.
FOB Price Benchmarks
Prices below are FOB China estimates with MOQ 100 to 300 units. They vary with cabinet material, top type, and basin count.
| Unit Type | Low End | Mid Range | High End |
|---|---|---|---|
| 600 mm wall hung, plywood, no top | $60 | $80-$110 | $140 |
| 900 mm wall hung with stone top | $110 | $150-$220 | $300 |
| 1200 mm wall hung, double basin | $160 | $220-$320 | $450 |
| Concealed wall-hung frame kit | $25 | $40-$70 | $120 |
| Wall hung mirror cabinet set | $35 | $50-$90 | $150 |
Budget 10 to 15 percent extra for certification documents and packaging for sea freight. Lead times typically run 25 to 45 days for standard finishes.
FAQ: Wall Hung Vanity Questions Contractors Ask
What wall is required for a floating vanity? A solid concrete or block wall, a timber wall with blocking, or a metal stud wall with plywood reinforcement. Drywall alone will not carry the load.
How much weight can a floating vanity hold? Most units are rated for 60 to 120 kg including the countertop and basin. Confirm the bracket rating against the finished weight of the unit with the top and basin fitted.
What is the standard height for a floating vanity? The countertop usually sits 820 to 860 mm above the finished floor, with accessible units set to the local code.
Can a floating vanity be installed over a floor drain? Yes, with the waste pipe routed through the wall and transitioned to the floor outlet, keeping the correct slope.
Do floating vanities need special plumbing? The supply and drain must run inside the wall or a hidden channel. Plan the rough-in before the wall is closed.
Are floating vanities more expensive than floor-standing? Yes, on the unit and the install. The wall reinforcement and the concealed plumbing add cost, and the cleaning and accessibility benefits pay it back.
Contractor’s Wall Hung Vanity Checklist
- Confirm the wall type and reinforcement before ordering.
- Check the bracket rating against the finished weight.
- Set the mounting height to the finished floor level.
- Position the supply and drain within the cabinet footprint.
- Use flexible connections at the trap.
- Allow for the tile build-up in the bracket height.
- Load test the unit before sealing.
- Order spare brackets with the main order.
- Confirm the certification documents for the destination market.
- File the as-built pipe positions in the O&M manual.
Conclusion
A wall hung vanity is a structural system, not a cabinet with legs removed. The wall carries the load, the bracket transfers it, and the concealed pipes make the whole thing work. Confirm the wall before you order. Plan the plumbing before the wall closes. Test the load before you seal it. Do that, and the unit will stay level for the life of the building.
For double basin layouts, see our double wash basin vanity contractor guide. For width-specific specs, the 36 inch bathroom vanity buying guide is the reference. The 900 mm wall hung vanity unit and the vanity with mirror cabinet show the factory options. The full vanity category covers the rest of the range.
References
- Vanity desk. Wikipedia. (https://en.wikipedia.org/wiki/Vanity_desk)
- ICC Codes. International Code Council. (https://www.iccsafe.org/)
- ADA Standards. U.S. Department of Justice. (https://www.ada.gov/)
- WaterSense. U.S. EPA. (https://www.epa.gov/watersense)