
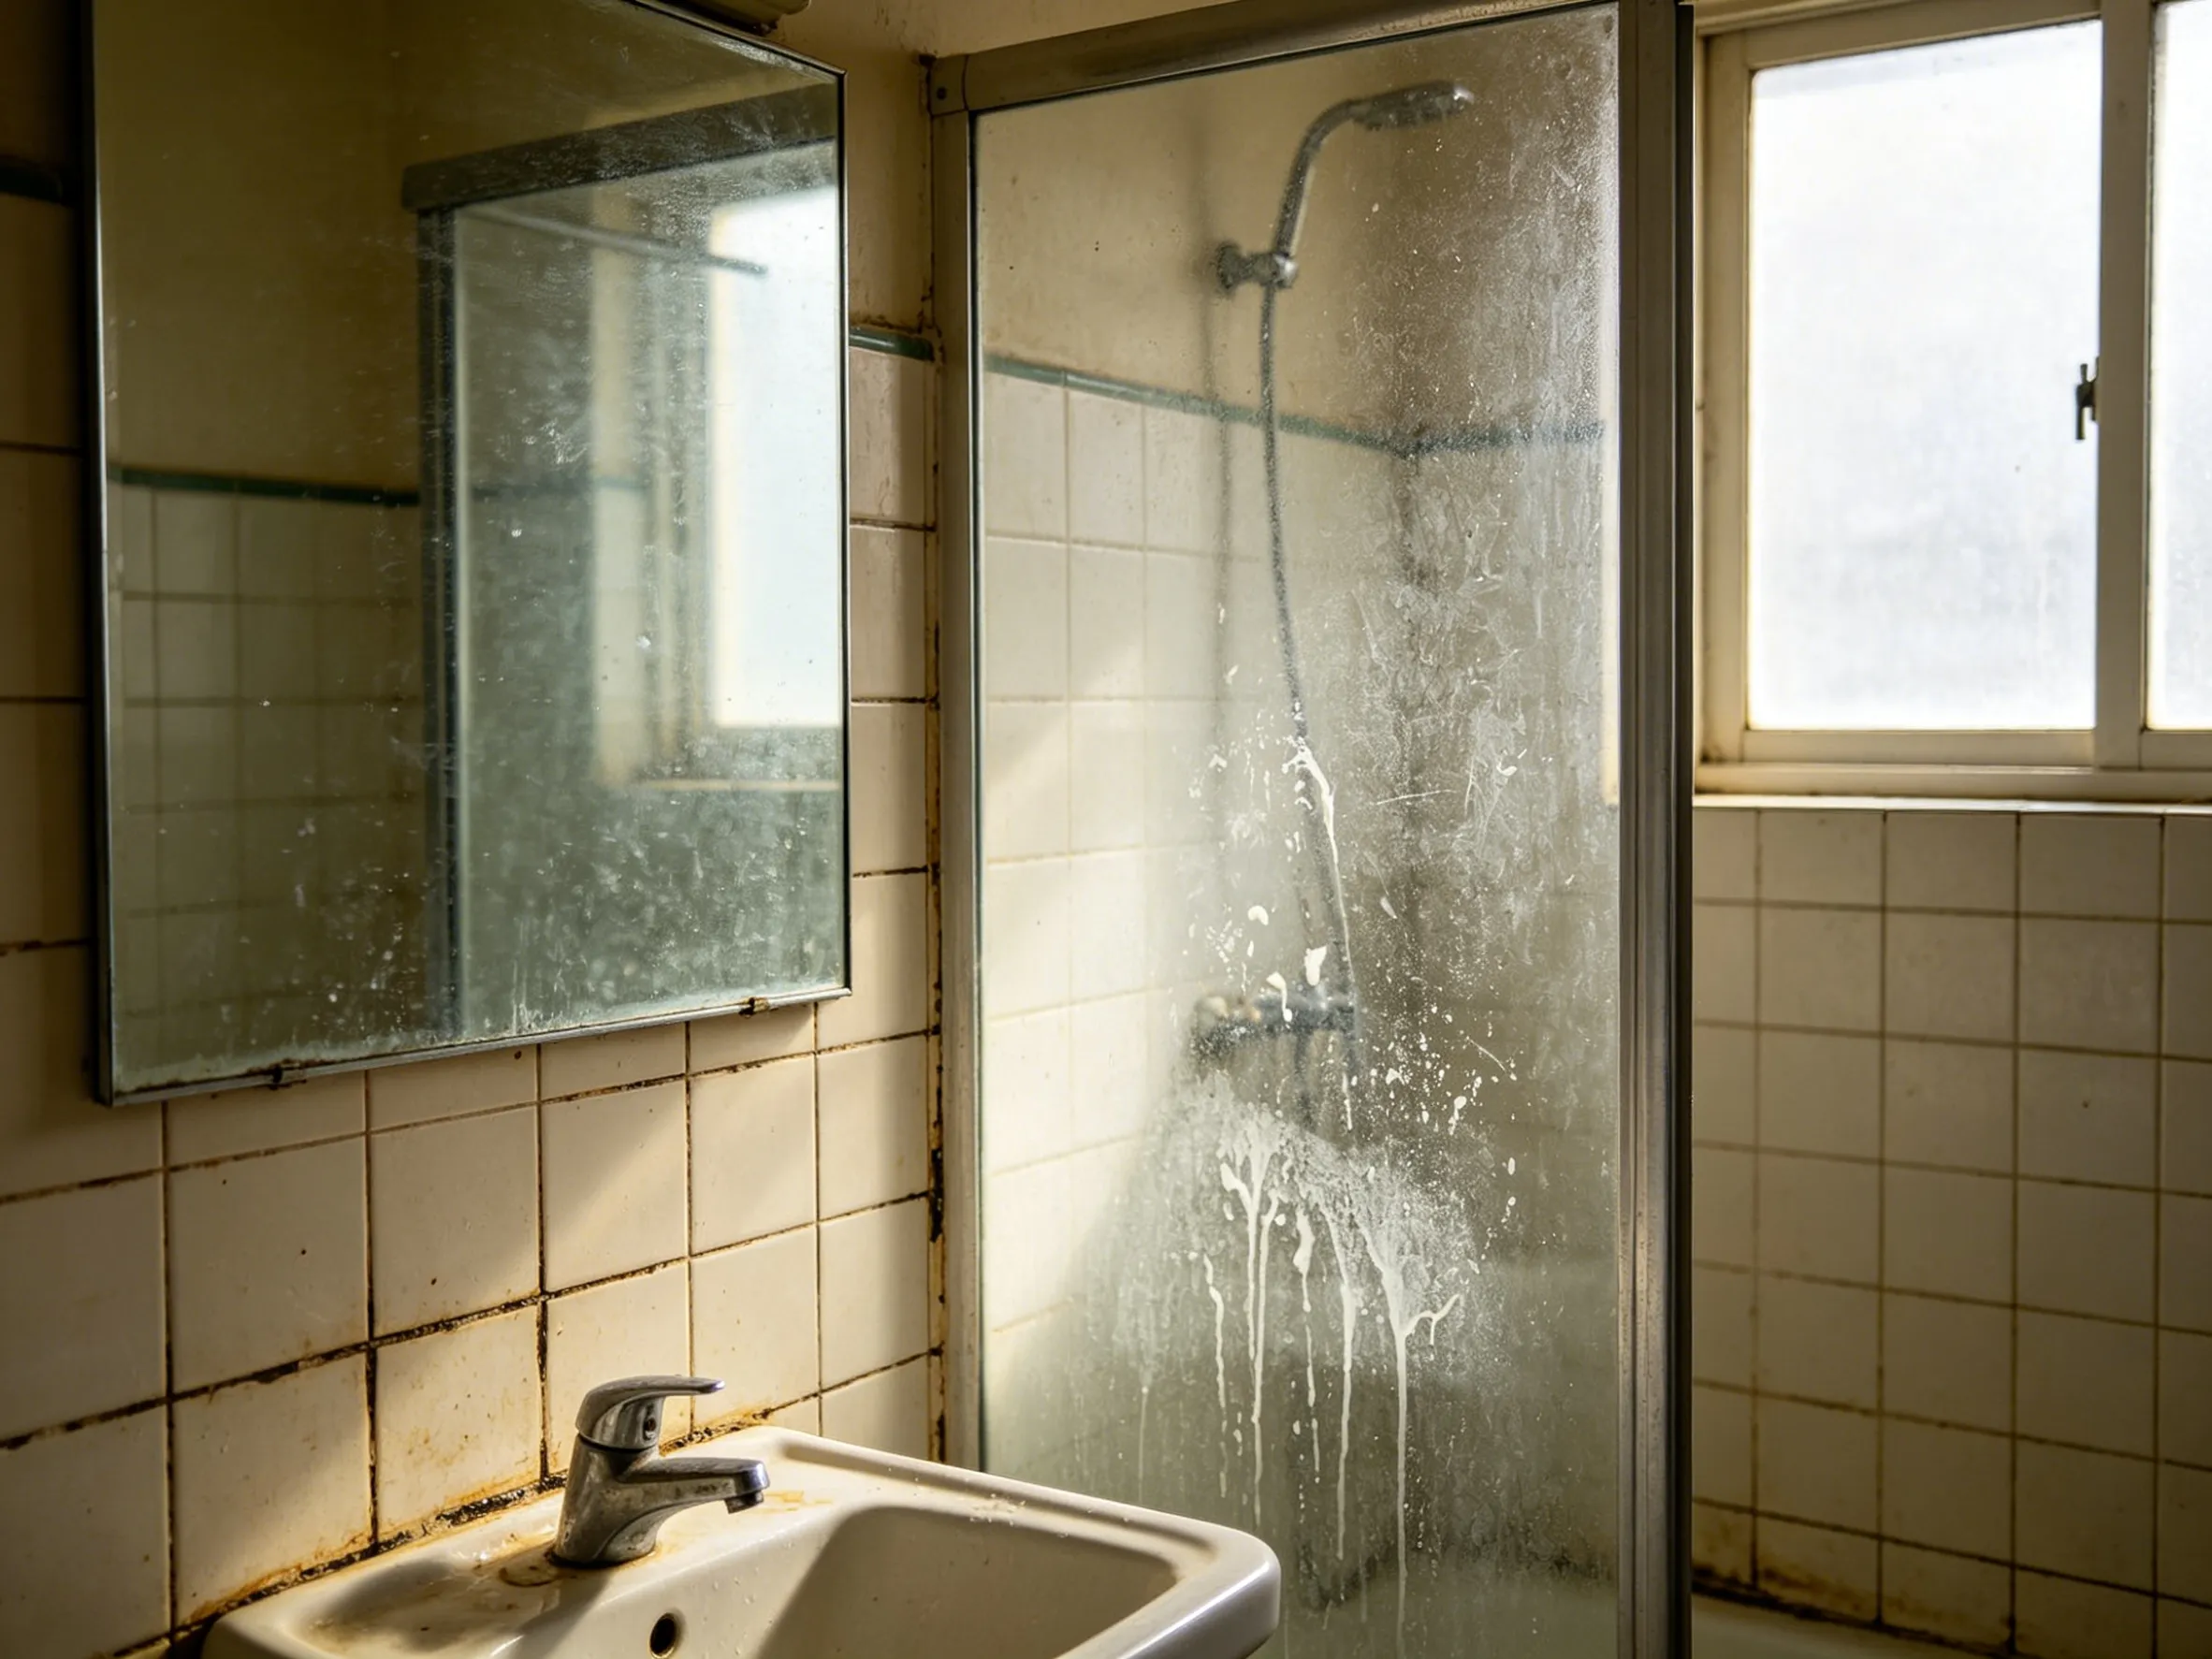
Most people clean their bathroom regularly. They wipe the basin, scrub the toilet, and maybe run a mop across the floor. But a surface-level clean only removes what you can see. What about the limescale building up inside the shower head, the mould colonising the silicone seals, or the dust and hair packed into the bathroom extractor fan? A proper deep clean reaches these hidden layers. It resets the bathroom to a condition that makes routine cleaning faster and more effective for months afterward.
I have walked through hundreds of bathrooms during renovations and property inspections. The bathrooms that hold up best over time are not necessarily the most expensive ones. They are the ones where someone periodically strips away the accumulated grime and treats the surfaces at a deeper level. This guide explains exactly how to do that. It covers every major surface and fixture, the right cleaning products for each, and the common mistakes that can damage your bathroom if you are not careful.
Why a Deep Clean Matters More Than a Regular Wipe-Down
A routine clean removes surface dirt. A deep clean removes mineral deposits, embedded soap scum, body oils that have polymerised on tile surfaces, and the biofilm that builds up in drains and shower tracks. These deposits are not just unsightly. Over time, limescale clogs aerators and shower heads, mould degrades grout and silicone, and trapped moisture in neglected corners leads to permanent staining and even structural damage behind tiles.
From a hygiene perspective, a bathroom that only receives surface cleaning can harbour bacteria and mould spores in places you would rather not think about. A deep clean every three to four months is sufficient for most households. Homes with hard water, high humidity, or many family members may benefit from doing it more often. The process takes a few hours, but the result is a bathroom that genuinely stays cleaner for longer because there is less residual buildup for new dirt to cling to.
Step 1: Preparation — The Step Most People Skip
Before you spray a single cleaner, prepare the space and gather your tools. A deep clean is more intensive than a regular wipe-down, and you will work faster if everything is within reach.
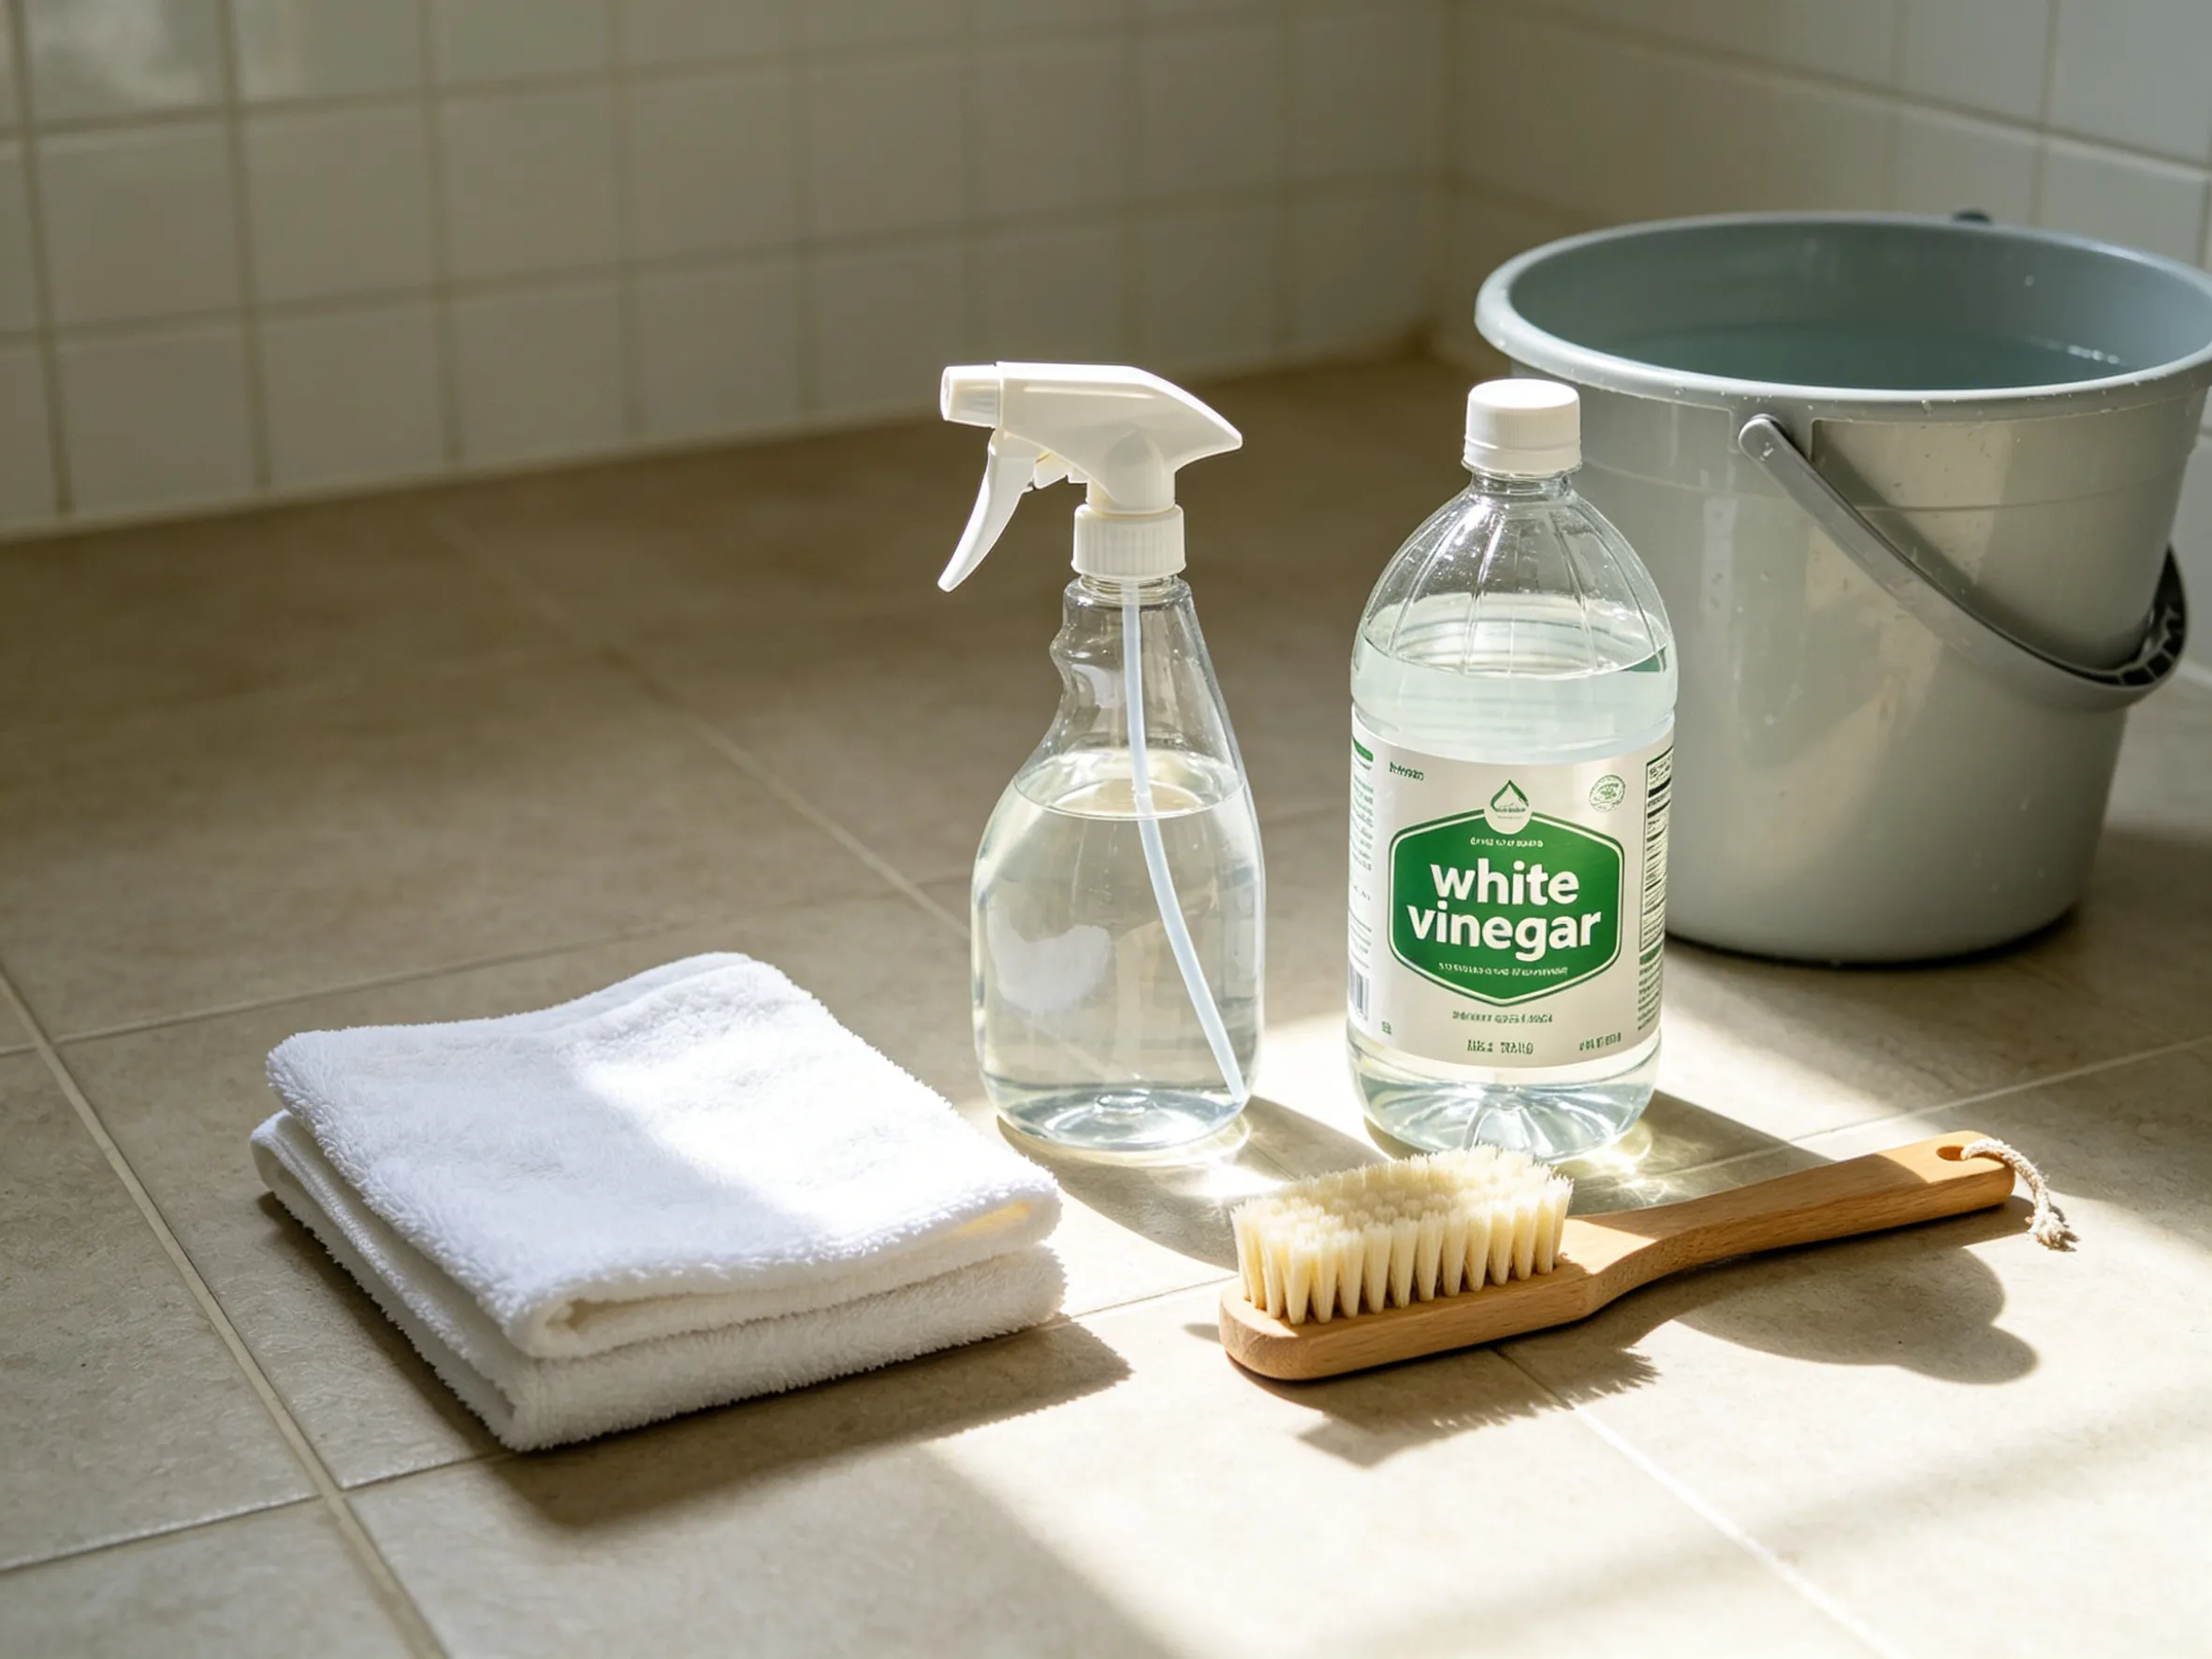
What you will need:
- White vinegar (cleaning-grade, 6% acidity or higher)
- Bicarbonate of soda (baking soda)
- A mild alkaline cleaner or all-purpose bathroom spray
- A limescale remover (citric acid-based or commercial descaler)
- Microfibre cloths (at least three: one for mirrors, one for fixtures, one for floors)
- A soft-bristle scrubbing brush and an old toothbrush
- A steam cleaner if you have one (optional, but highly effective for grout and seals)
- Rubber gloves and eye protection
- A bucket and a flat mop or squeegee for floors
Ventilation is critical. Open the window if you have one. Run the extractor fan. Many bathroom cleaning products release fumes that are harsh on the lungs, and a deep clean involves prolonged exposure. If your bathroom has no window, take regular breaks and keep the door open whenever practical.
Clear the bathroom of loose items. Remove shampoo bottles, soap dispensers, toothbrush holders, towels, bath mats, and anything else sitting on surfaces. Place them outside the bathroom. This gives you full access to every surface and also lets you clean or launder those items separately. A surprising amount of bathroom odour comes not from the fixtures themselves but from the residue that builds up underneath bottles and mats.
Step 2: Ceilings, Walls, and Extractor Fans — Work Top to Bottom
The golden rule of any deep clean is to work from the highest point downward. Gravity pulls dirt, dust, and dripping cleaner toward the floor. If you clean the floor first and then scrub the walls, you will only make more work for yourself.
Ceilings and upper walls: Use a flat mop with a damp microfibre pad to wipe ceiling surfaces and the upper portion of walls. In bathrooms with poor ventilation, ceiling paint can develop a layer of condensed shampoo residue and dust. A quick pass with warm water and a mild cleaner lifts this layer before it becomes permanently discoloured. Pay particular attention to the area directly above the shower.
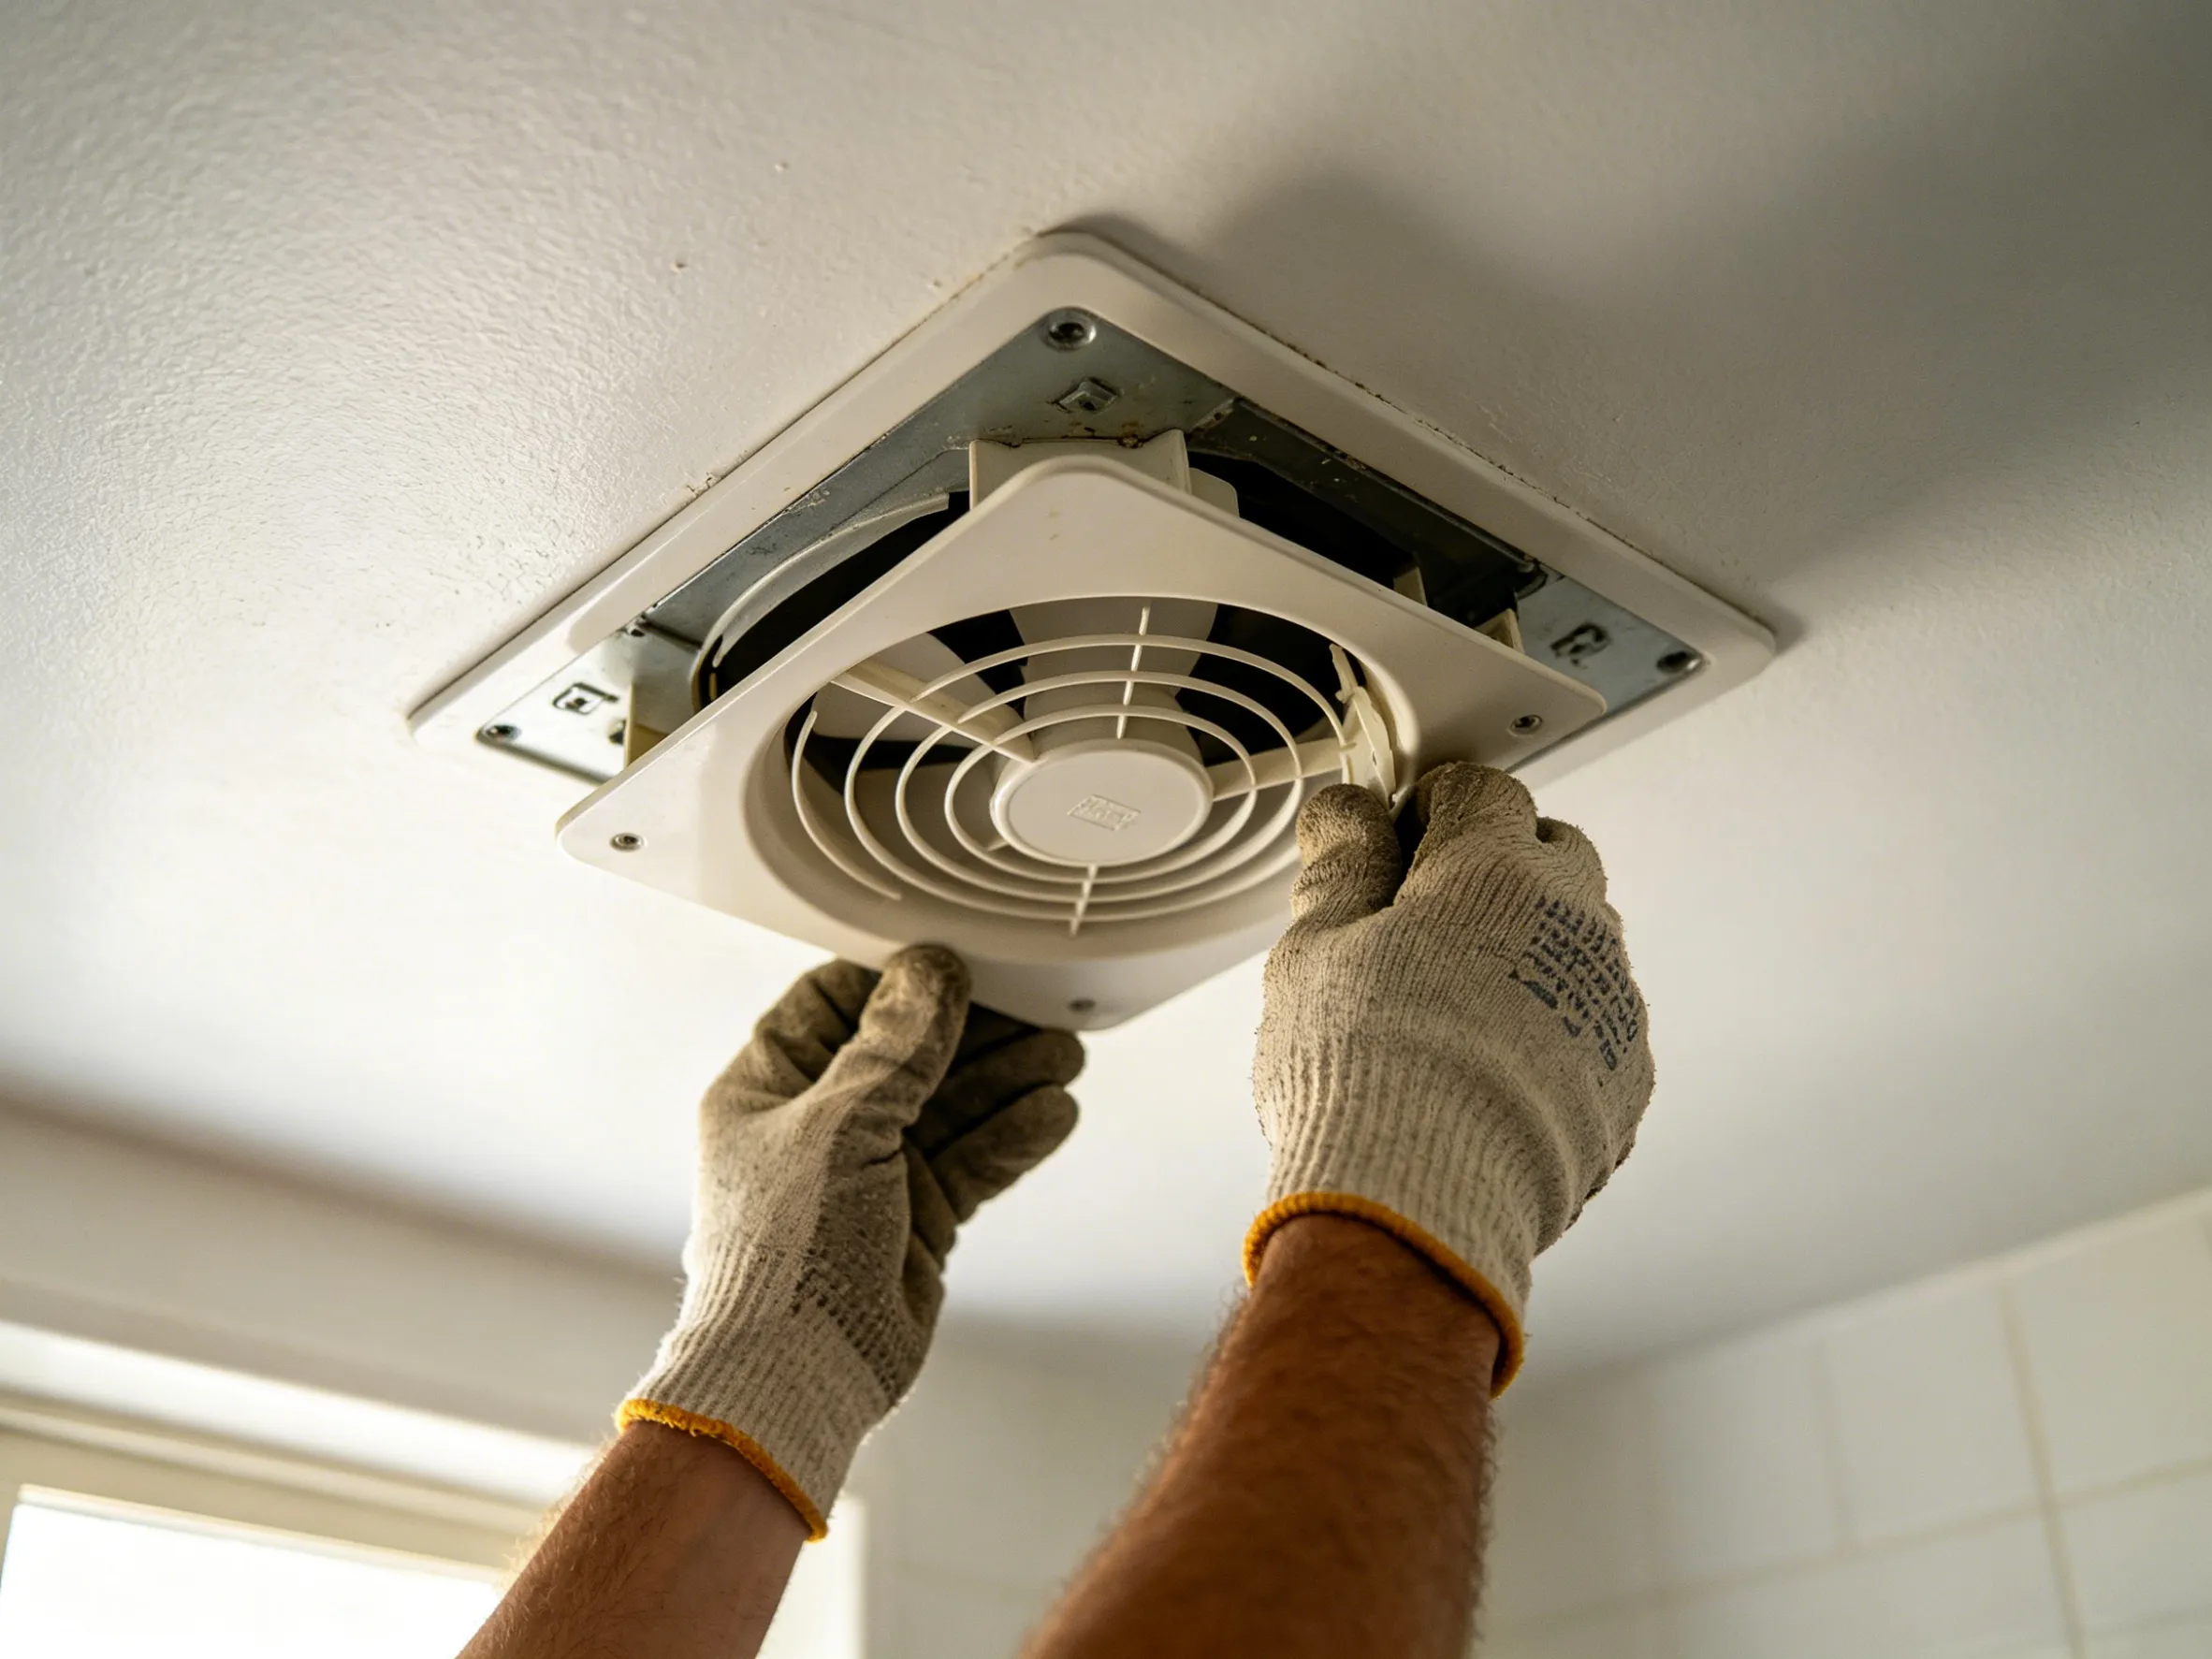
Extractor fan: The bathroom extractor fan is one of the most neglected appliances in the home. Over time, it pulls moisture-laden air through its grille, leaving behind a coating of dust, grease, and sometimes mould. Switch off the fan at the isolator switch or fuse box before you begin. Remove the cover grille and wash it in warm, soapy water. Use a vacuum crevice tool or a dry brush to clear the visible dust from inside the fan housing. If the grille is heavily coated, soak it in a solution of warm water and white vinegar for ten minutes before scrubbing. A clean fan runs more quietly, extracts moisture more effectively, and reduces the overall humidity that causes mould elsewhere in the bathroom.
Step 3: Shower Head, Glass, and Shower Tracks — Where the Hidden Build-Up Lives
The shower is the hardest-working zone in the bathroom, and it is where the deep clean should focus the most attention.
Descaling the Shower Head
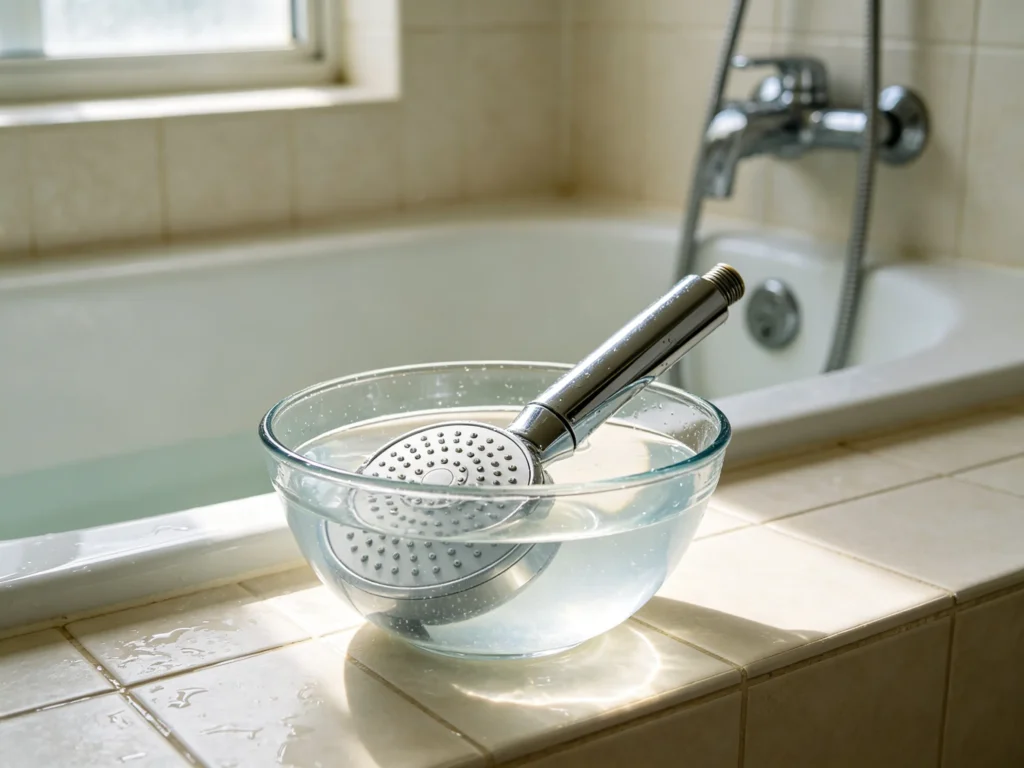
If your shower head has begun to spray unevenly or the flow feels reduced, limescale is almost certainly the cause. Unscrew the shower head if it is removable. Submerge it in a bowl of warm white vinegar and leave it to soak for at least an hour, or overnight for heavy buildup. For a fixed shower head, fill a plastic bag with vinegar, secure it around the head with a rubber band, and leave it to soak. After soaking, use an old toothbrush to loosen any remaining mineral deposits around the nozzles, then rinse thoroughly. The flow should return to full strength.
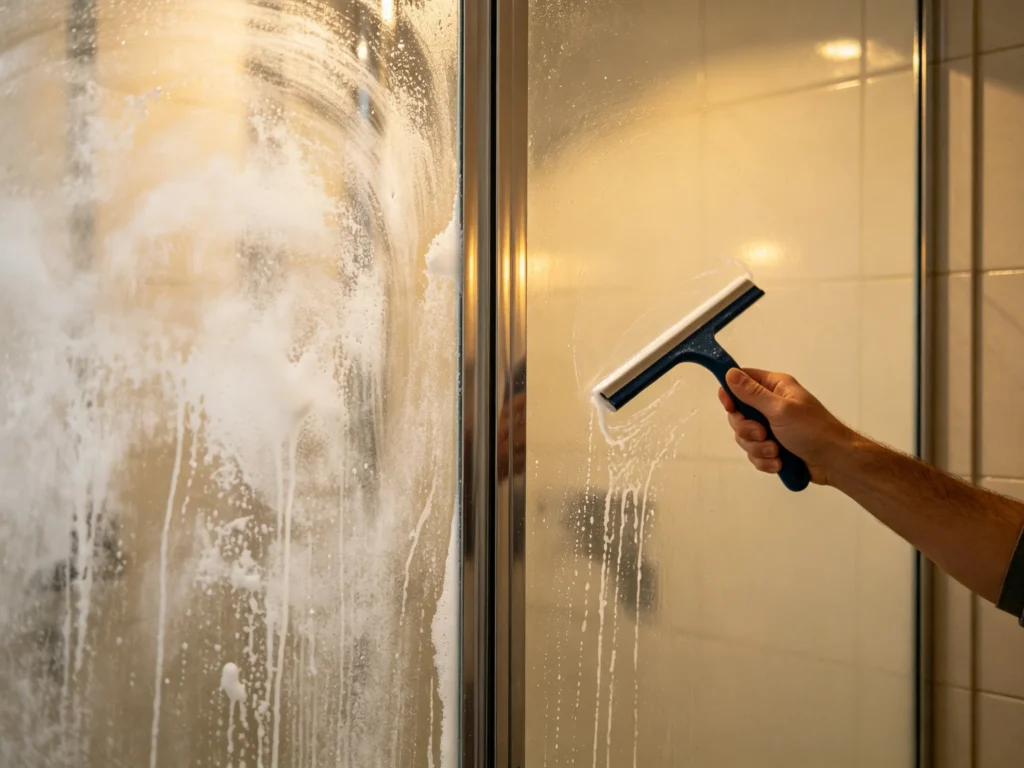
Shower Glass and Soap Scum
Soap scum is a waxy, stubborn residue formed when soap reacts with minerals in hard water. Standard glass cleaner struggles to remove it. A better approach uses a warm vinegar solution or a dedicated soap scum remover. Apply the product generously and let it sit for five to ten minutes. Then scrub with a non-scratch microfibre pad or sponge. For heavy buildup, a paste of bicarbonate of soda and water provides gentle abrasion without scratching the glass. Rinse thoroughly and use a squeegee to dry the glass. If you make squeegeeing a daily habit after showers, you will dramatically reduce the frequency of deep cleans.
Shower Door Tracks and Seals
The tracks where shower doors slide, and the rubber seals along the edges, collect a thick paste of soap scum, hard water minerals, and organic matter. This mixture hardens over time and becomes genuinely difficult to remove. Start by vacuuming out loose debris with a crevice tool. Then spray the tracks and seals with white vinegar or a limescale remover and leave for fifteen minutes. Use an old toothbrush to scrub the corners and the rubber folds. Wipe away the loosened sludge with a cloth, then rinse and dry. This area is a common source of bathroom odours, and addressing it makes an immediate difference.
Step 4: Toilet — Beyond the Bowl
Most people clean the inside of the toilet bowl and consider the job done. A deep clean goes much further.
Under the rim: Even rimless toilets have a channel where flush water exits, and this area accumulates limescale and bacteria. Apply a limescale remover or vinegar solution under the rim and let it sit for ten minutes before scrubbing with a toilet brush. Repeat if necessary.
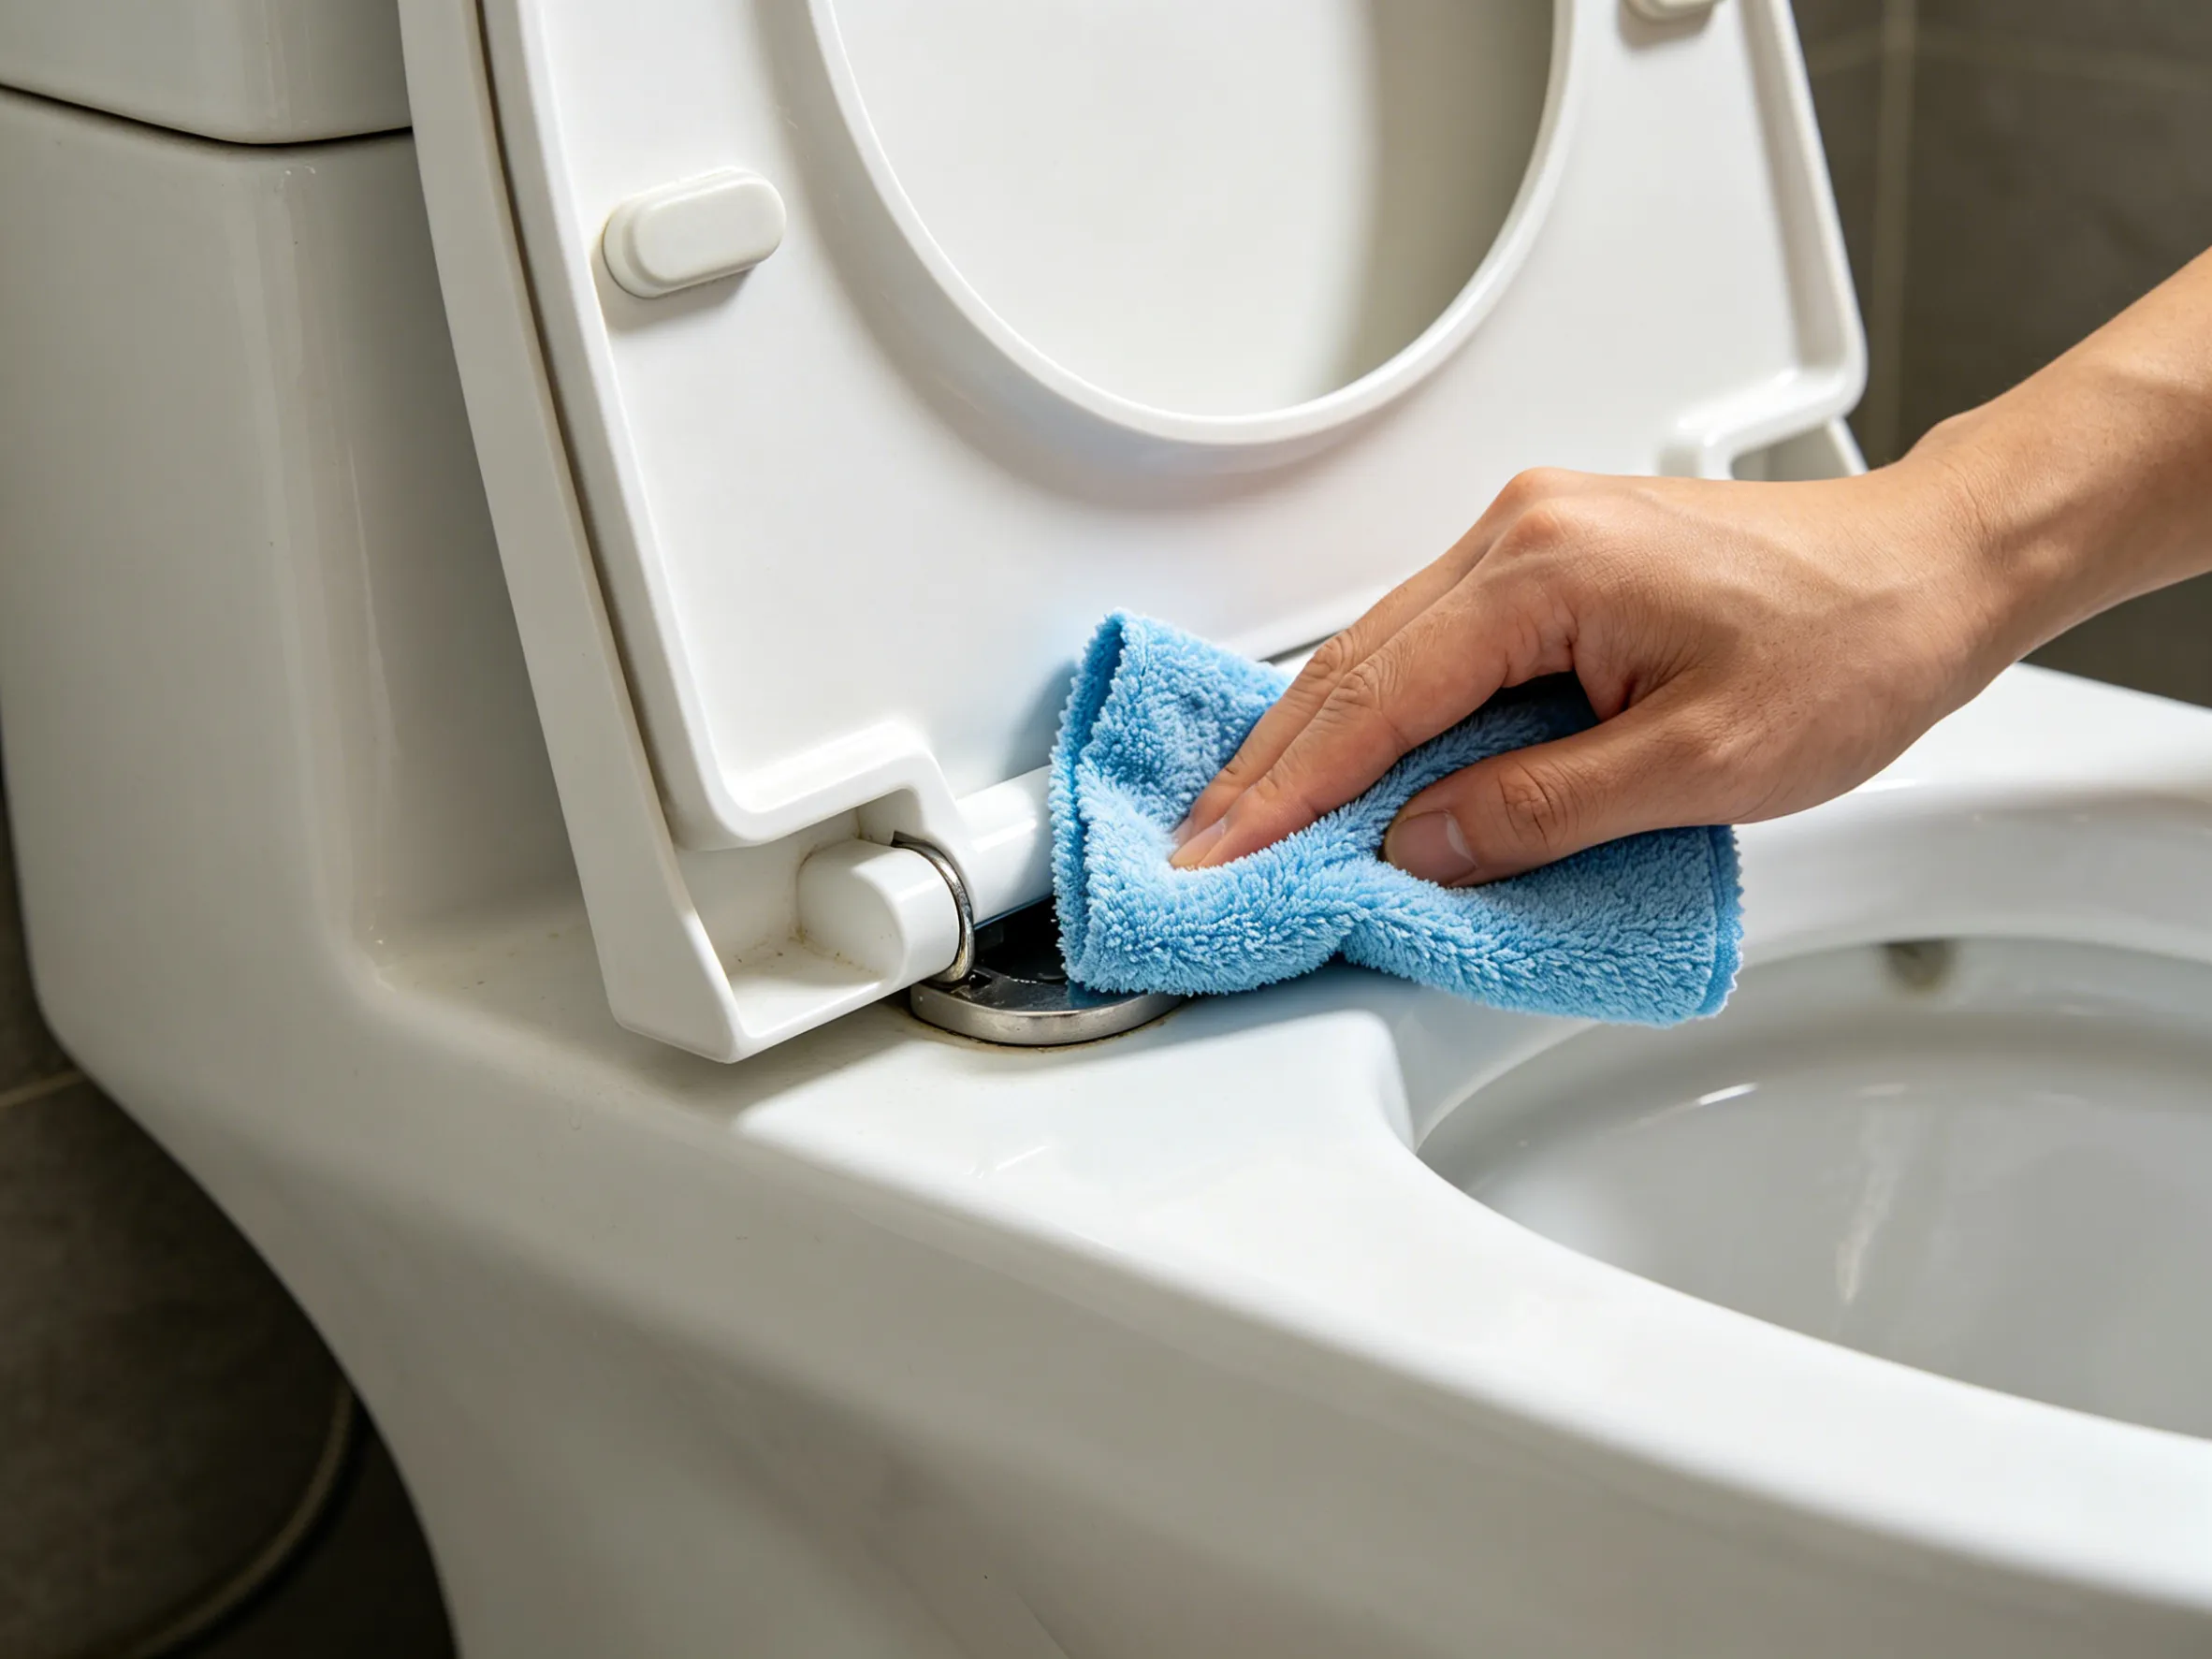
The exterior: The outside of the toilet — the cistern, the lid, the seat hinges, the floor bolts — collects airborne dust, urine spray, and cleaning chemical residue. Wipe every external surface with an all-purpose cleaner and a dedicated cloth. Pay special attention to the seat hinges and the area where the base meets the floor. These are the most neglected spots in the entire bathroom.
The cistern: Hard water deposits can build up inside the cistern, particularly around the flush valve and inlet. If your toilet flushes weakly or the fill valve hisses, the problem may be limescale inside the cistern rather than a plumbing fault. Carefully remove the cistern lid and add a descaling product according to the manufacturer’s instructions. Allow it to work for the recommended time, then flush several times to clear.
Step 5: Wash Basin, Taps, and Drains — Restore the Shine and Flow
Descaling the basin and tap: Soap residue and limescale form a dull film on ceramic basins and metal taps. Apply a limescale remover to the basin walls and around the tap base. For the tap body, avoid harsh abrasives that can scratch the finish. A soft cloth dampened with vinegar works on chrome and stainless steel. For gold or brushed finishes, check the manufacturer’s care instructions. PVD finishes tolerate gentle cleaning but can be damaged by acidic products if left in prolonged contact.
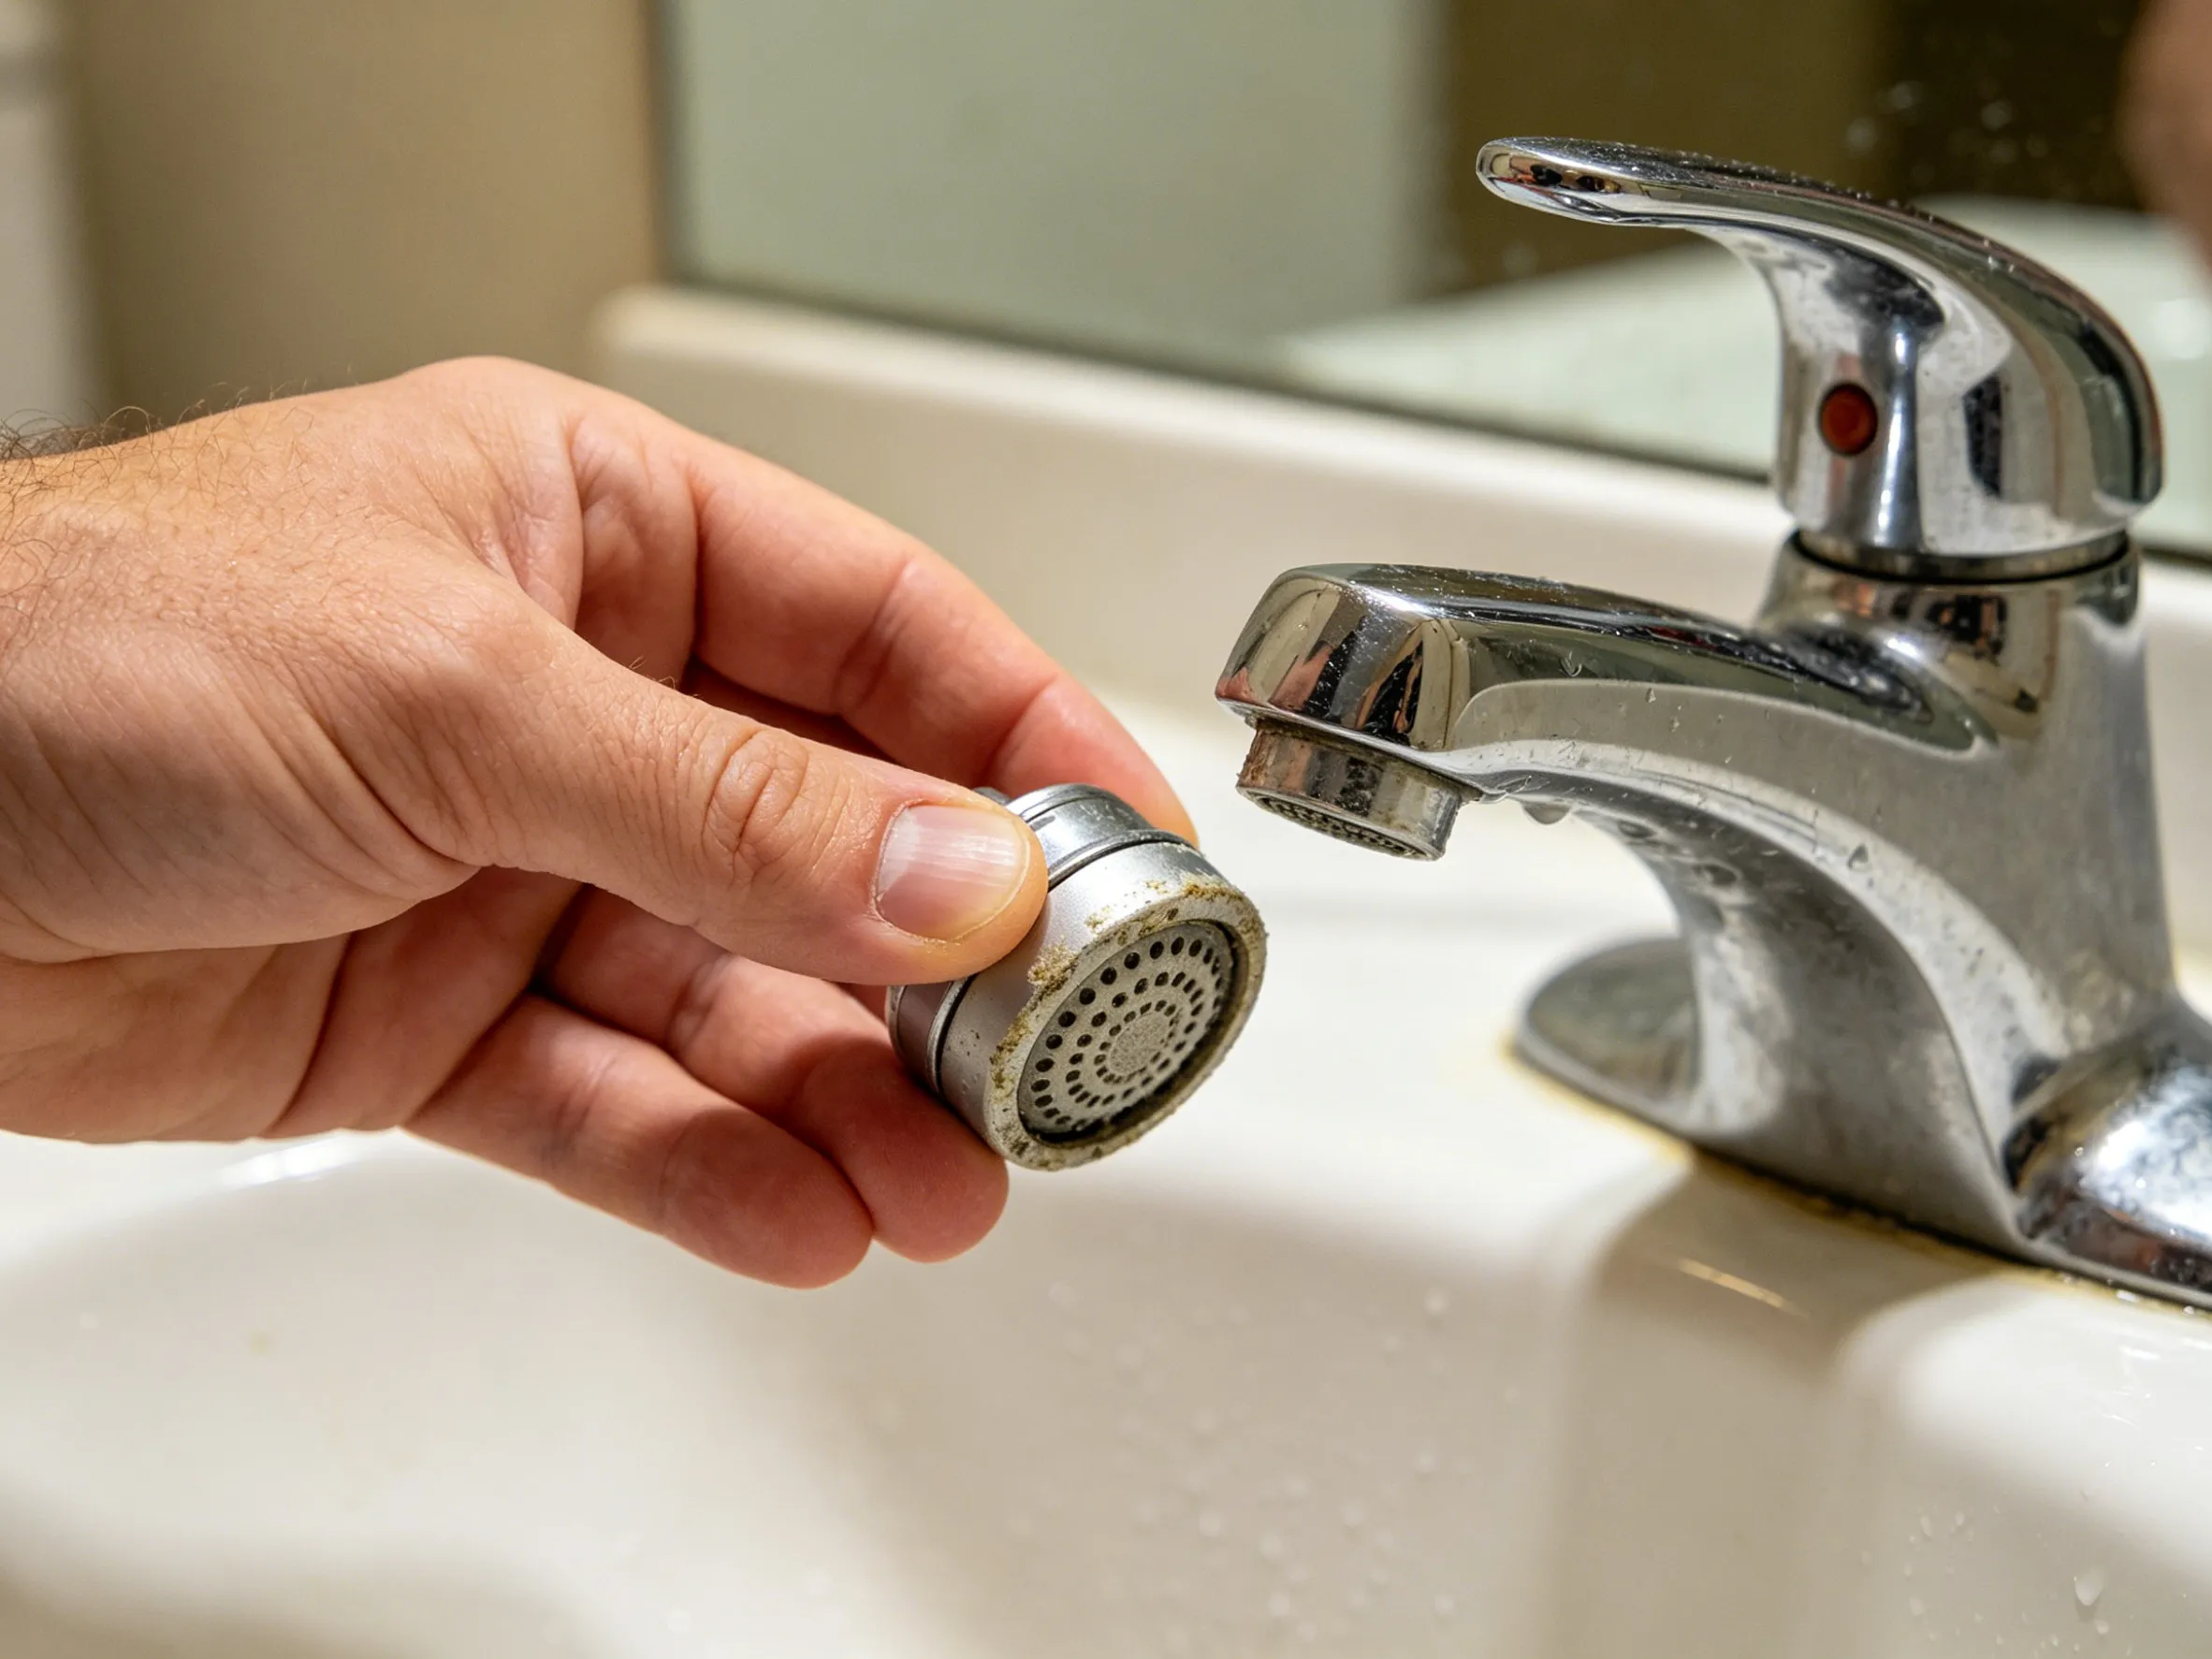
Cleaning the aerator: The aerator is the small mesh piece at the tip of the tap. Unscrew it carefully. Soak it in vinegar for thirty minutes, then brush away any remaining sediment. A clean aerator restores full flow and prevents the tap from splashing.
Clearing the drain: Bathroom basin drains often slow down due to a combination of hair, soap residue, and biofilm. Remove the drain stopper if possible and clean it separately. Pull out any visible hair and debris with a long-nose pliers or a dedicated drain-cleaning tool. Then pour a mixture of bicarbonate of soda and vinegar down the drain, followed by boiling water after ten minutes. This combination breaks down soap buildup and reduces odours. For persistent slow drains, a regular enzyme-based drain cleaner used monthly can prevent recurrence.
Step 6: Grout, Silicone Seals, and Tiles — The Mould Battleground
Mould and mildew in a bathroom are almost always caused by trapped moisture rather than poor cleaning. However, once they appear, removing them requires more than a surface wipe.
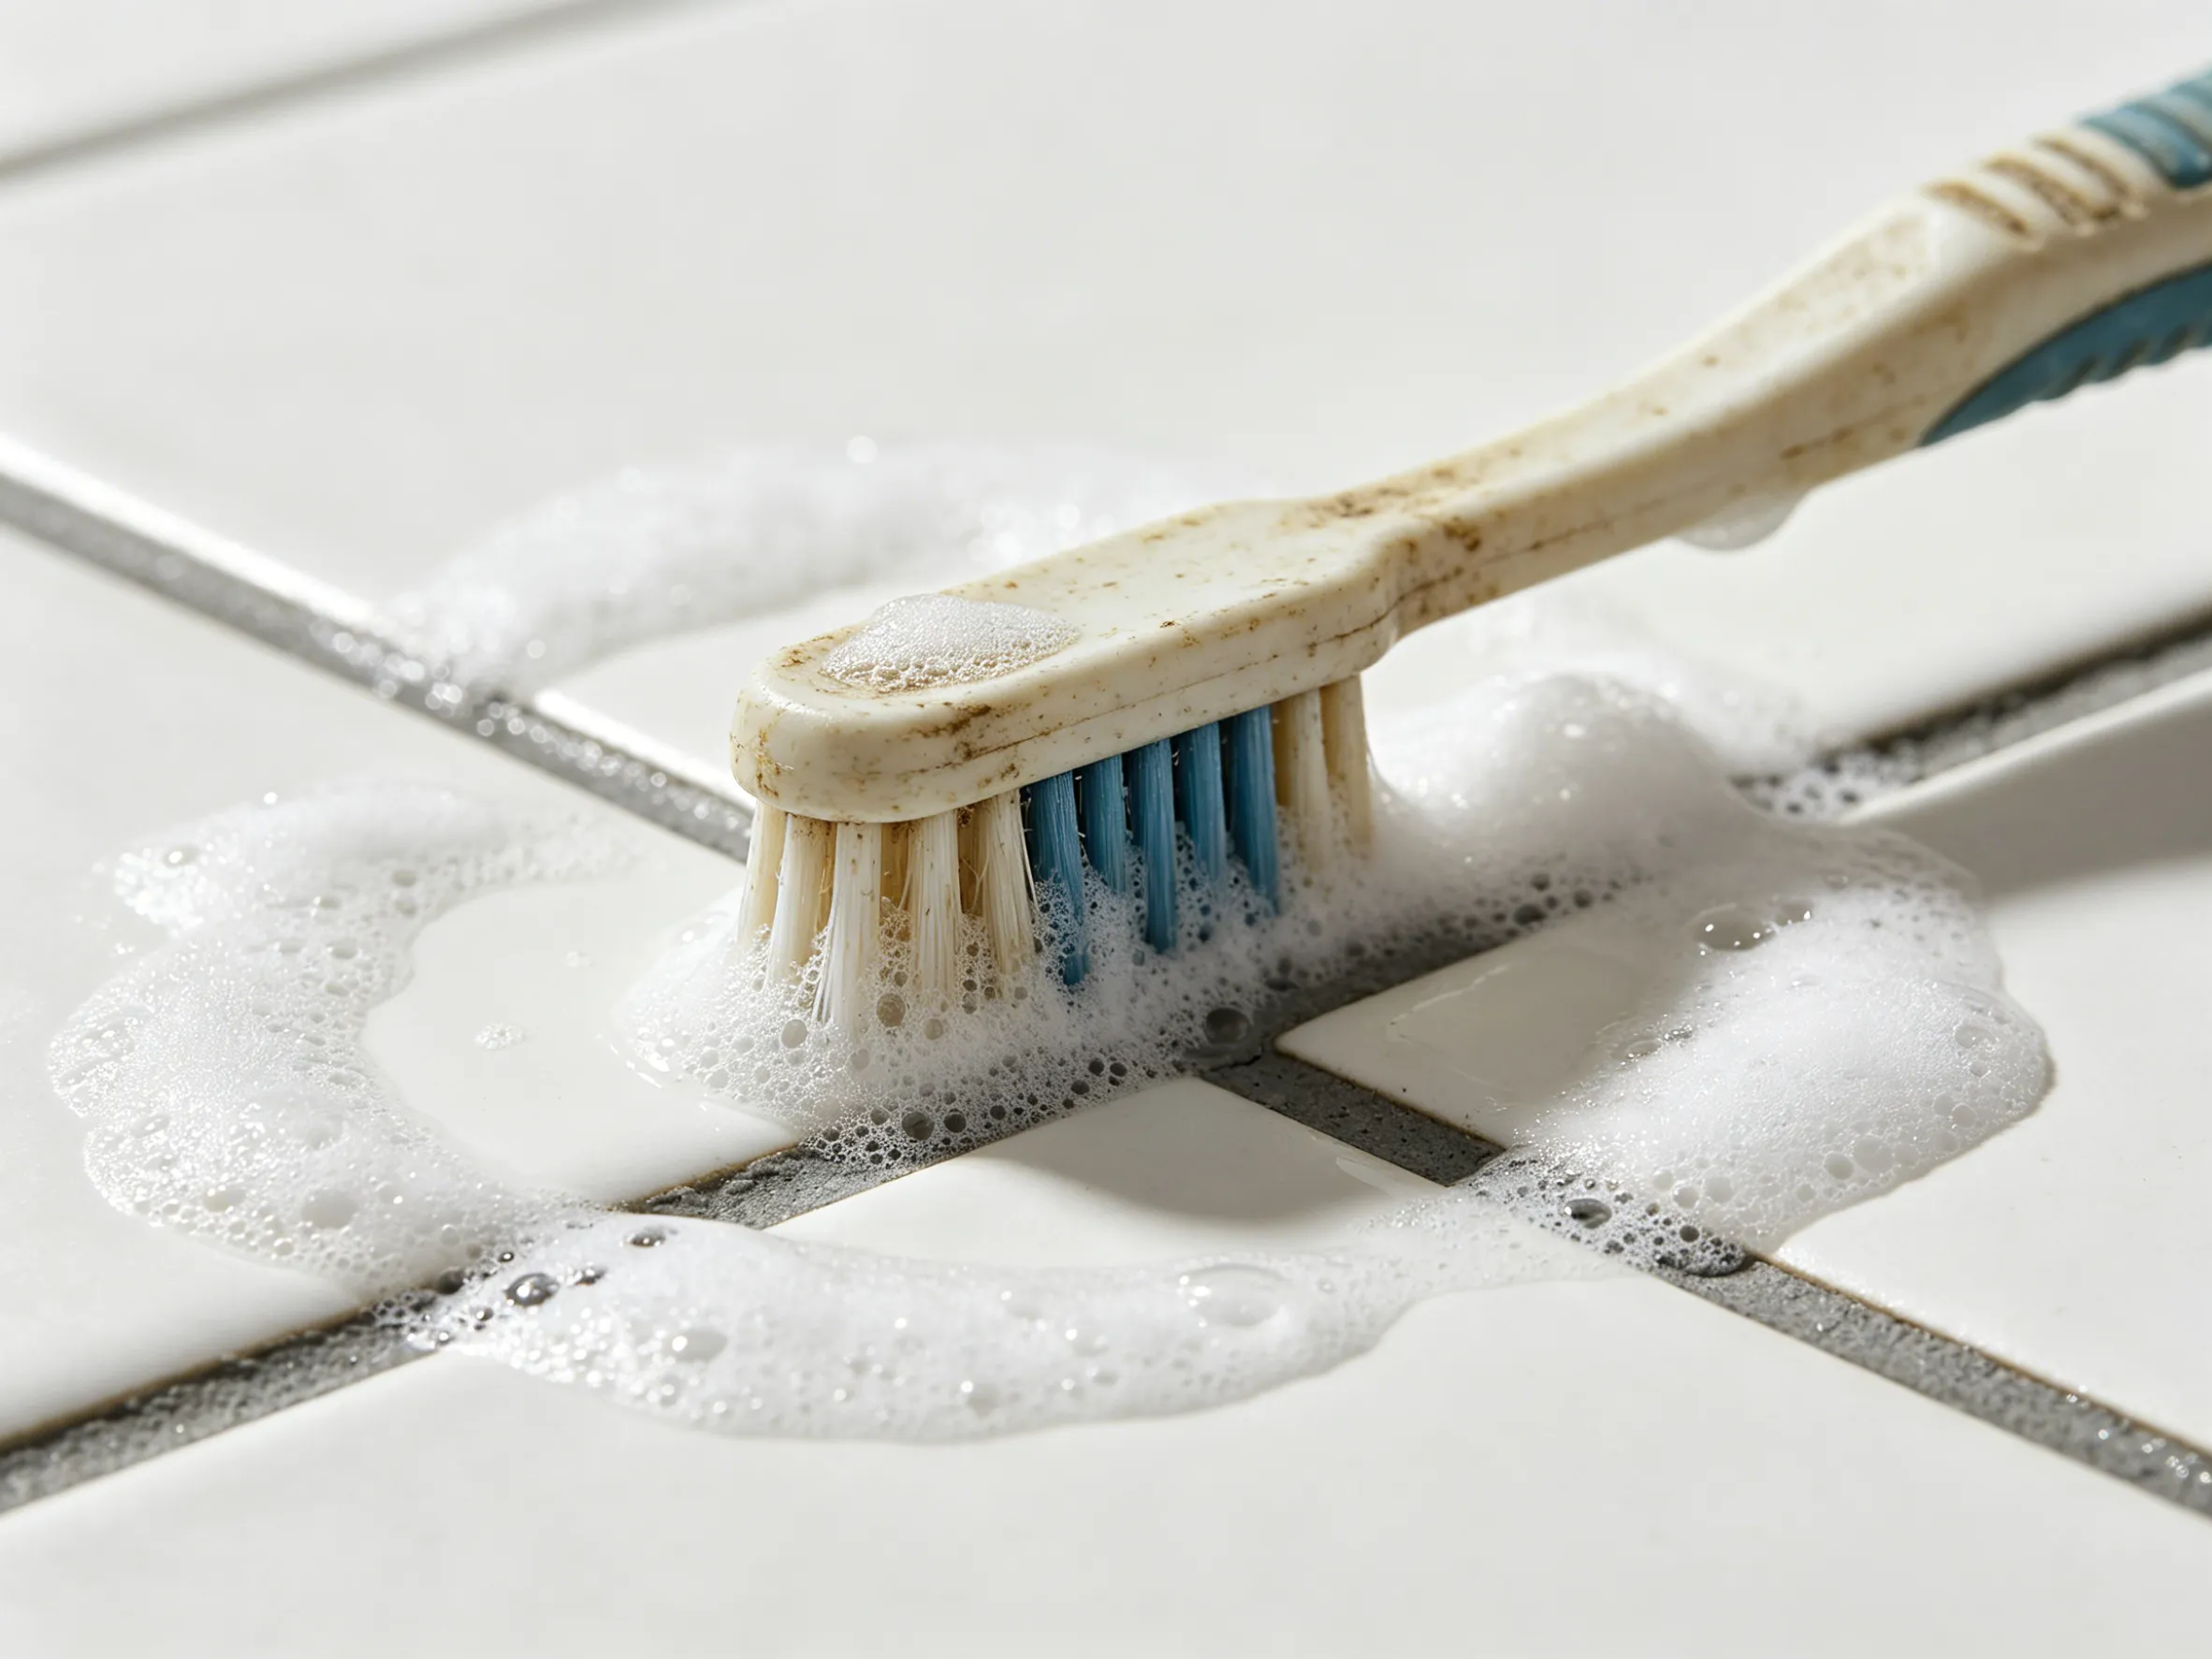
Grout: Apply a grout cleaner or a paste made from bicarbonate of soda and water. Let it sit for ten minutes, then scrub with a stiff grout brush or an old toothbrush. For stubborn staining, oxygen-based bleach (sodium percarbonate) mixed into a paste is highly effective and less harsh than chlorine bleach. Rinse thoroughly afterward. A steam cleaner with a nozzle attachment is also excellent for grout because the heat penetrates into the porous surface and kills mould spores.
Silicone seals: The flexible silicone seal around the bathtub, shower tray, and basin is a magnet for mould. If the silicone itself has become deeply embedded with black mould, cleaning alone may not be sufficient. Surface mould can be treated with a specialised mould remover or a diluted bleach solution. Apply the product, leave it for the time specified on the label, then rinse and dry. If the mould has penetrated beneath the silicone surface, the seal needs to be cut out, the area thoroughly dried and treated, and new silicone applied. This is a straightforward DIY job if you prepare the surface carefully and allow the new silicone to cure for 24 hours before exposing it to water.
Tiles: Ceramic and porcelain tiles are easy to clean with a mild alkaline cleaner. For natural stone tiles, avoid acidic products like vinegar. Use a pH-neutral stone cleaner instead. After scrubbing, rinse thoroughly with clean water. Leftover cleaning residue on tiles attracts new dirt faster.
Step 7: Bath and Shower Tray — Soak, Scrub, Rinse
Acrylic baths and shower trays: Avoid abrasive cleaners and scouring pads. They create micro-scratches where dirt accumulates faster in the future. Use a non-abrasive bathroom cleaner or a warm water and vinegar solution. For stubborn marks, a paste of bicarbonate of soda and water applied with a soft sponge is safe and effective.
Cast iron or steel baths with enamel: These surfaces are harder than acrylic and can tolerate slightly more aggressive cleaning. However, avoid dropping heavy objects on the enamel, as chips expose the metal underneath to rust.
Stone resin or solid surface: Use a mild cleaner and a soft cloth. These materials are generally stain-resistant, but harsh chemicals can dull the surface. If the surface has lost its sheen, the manufacturer may offer a polishing compound to restore it.
After scrubbing, rinse the bath or tray thoroughly. Cleaning product left in the base of the bath dries into a sticky film that attracts dirt. Dry with a cloth if you want to see the true condition of the surface.
Step 8: Floors, Skirting, and the Forgotten Corners
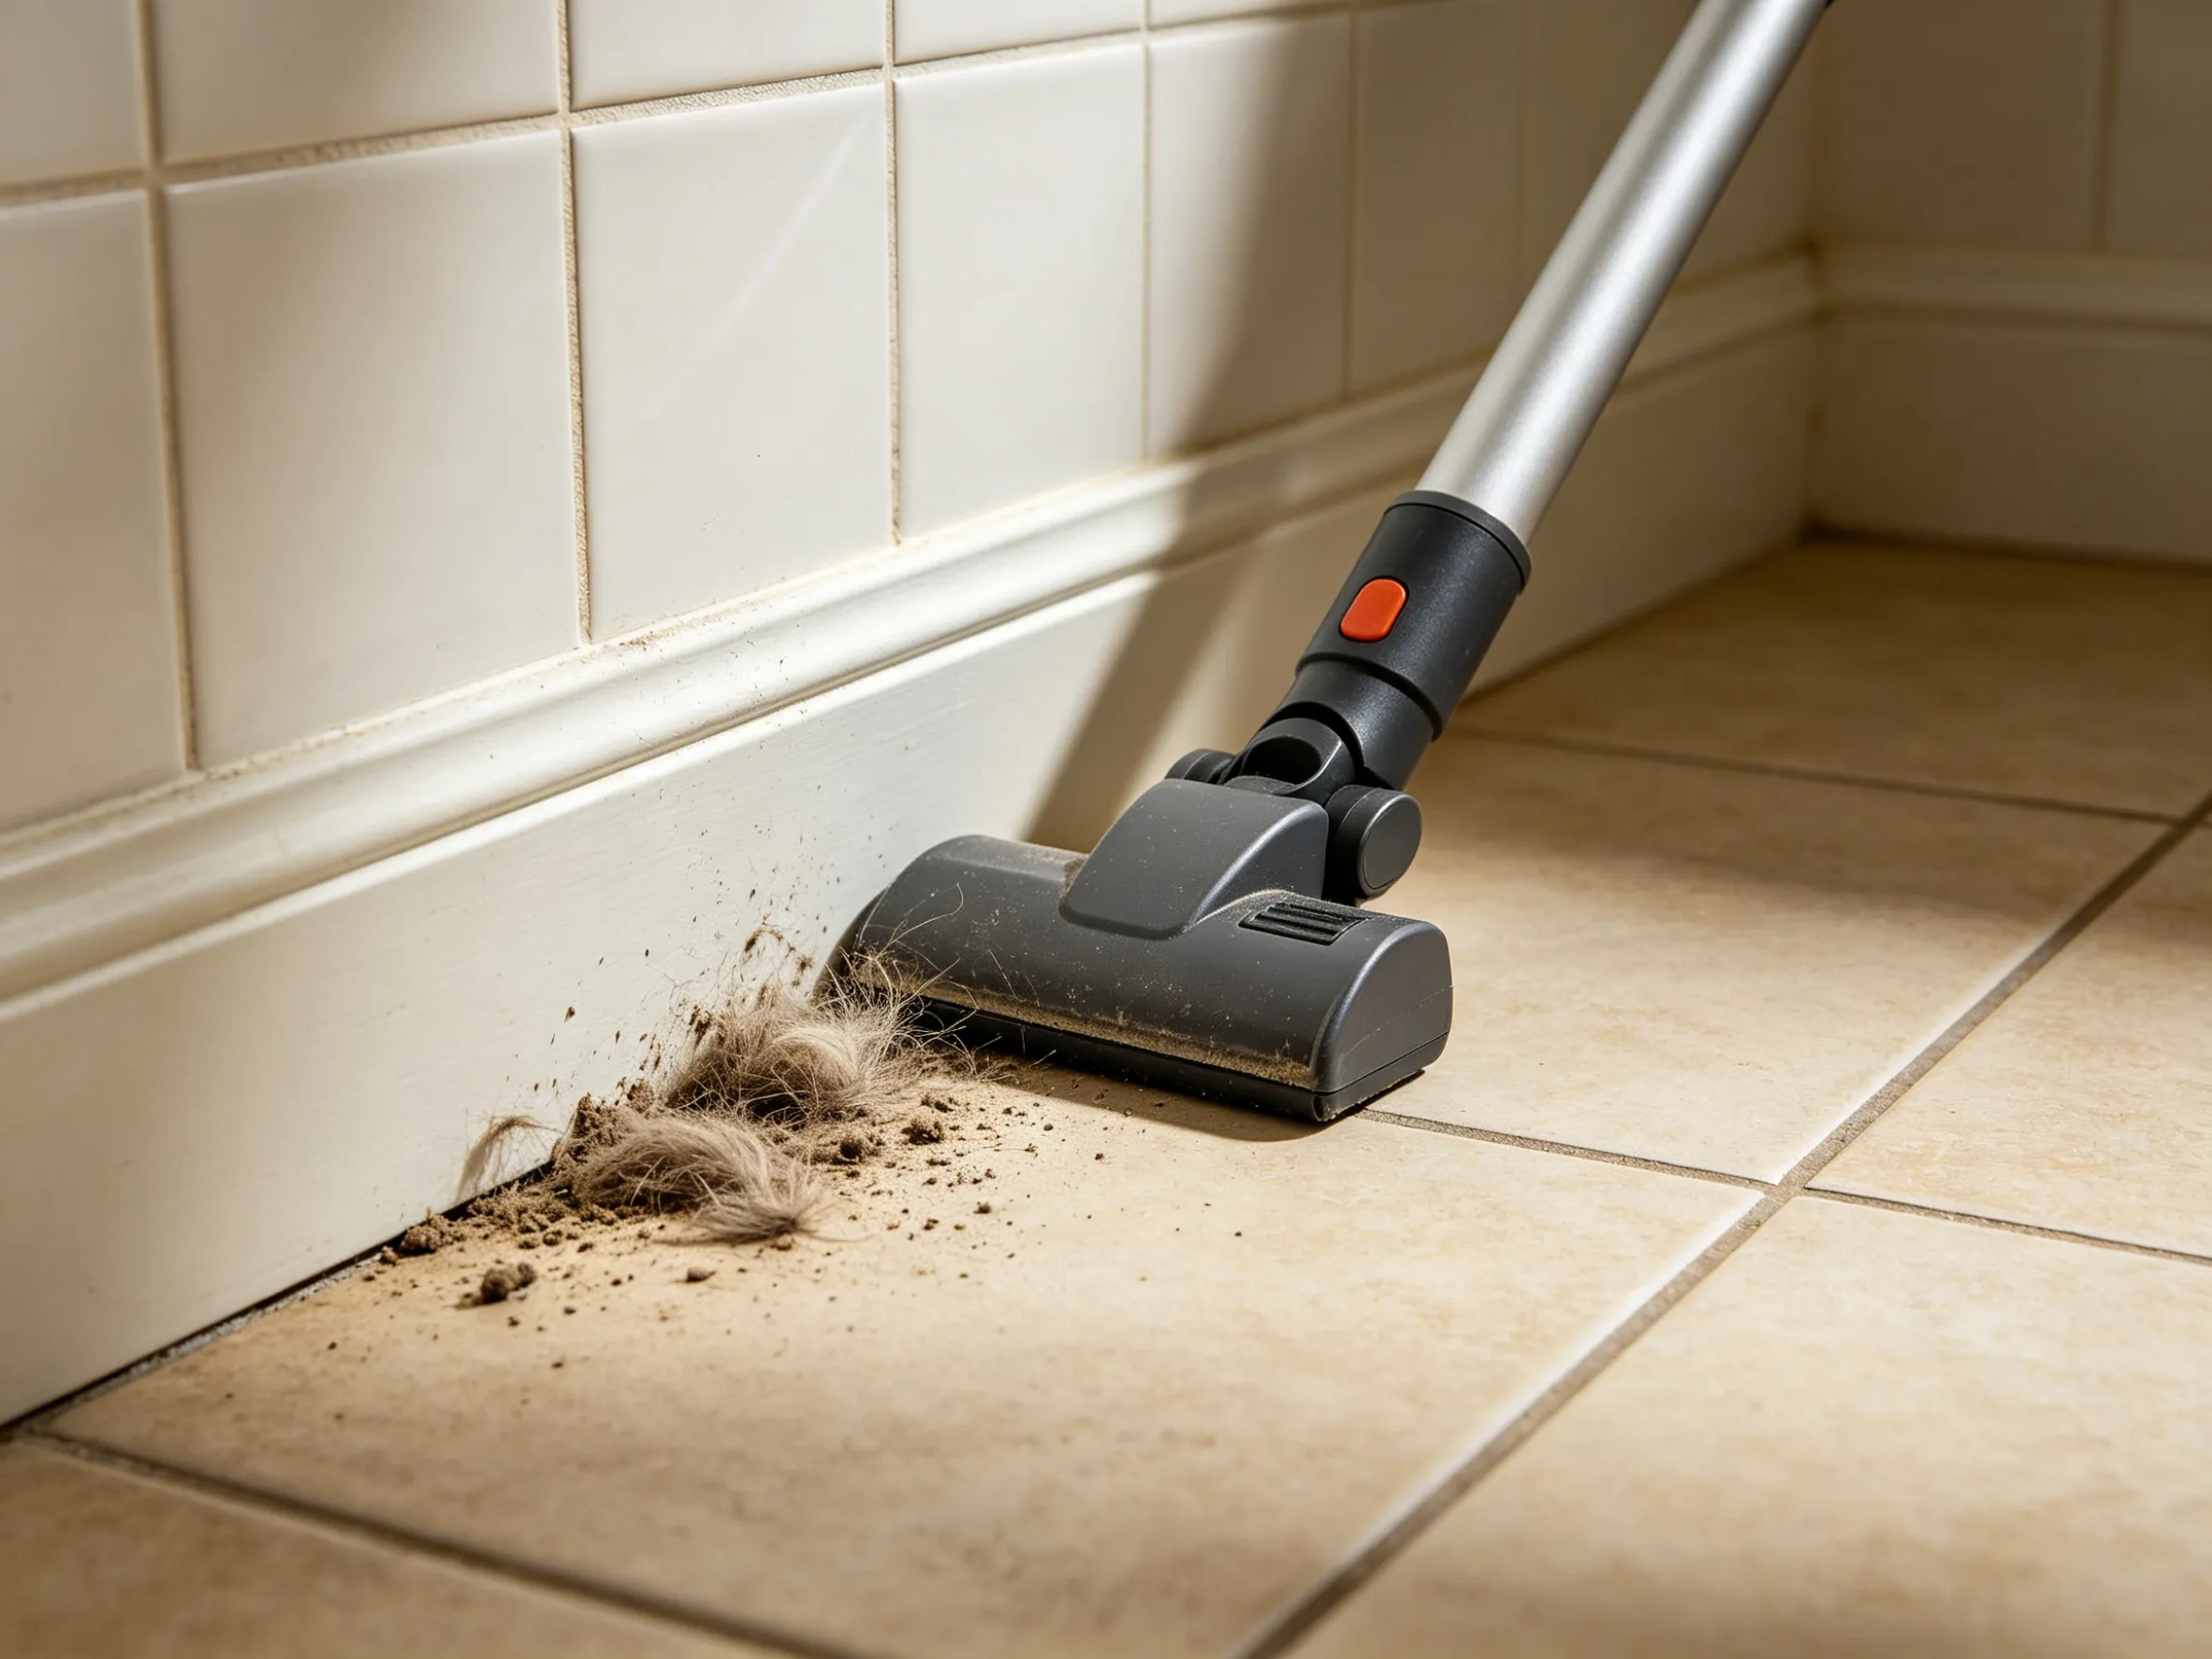
Bathroom floors collect hair, dust, skin cells, and the overspray from every cleaning product used on the surfaces above. By this stage, much of that debris has fallen to the floor.
Sweep or vacuum first. A vacuum with a crevice tool reaches the corners and behind the toilet. Then mop with a cleaner appropriate for the floor type. For tile floors, a mild all-purpose cleaner works. For vinyl or laminate, use a less wet mop to prevent water seeping into seams. Pay attention to the joint between the floor and the wall. This line, hidden behind the door or under the vanity, accumulates a line of dust and hair that is easy to miss.
Skirting boards and door frames also benefit from a wipe during a deep clean. They collect airborne dust and, in humid bathrooms, a slightly sticky residue. A damp cloth with a small amount of all-purpose cleaner is all that is needed.
Step 9: Mirrors, Fixtures, and the Finishing Touches
Now that every surface has been scrubbed and rinsed, the finishing work restores the bathroom to a clean, welcoming state.
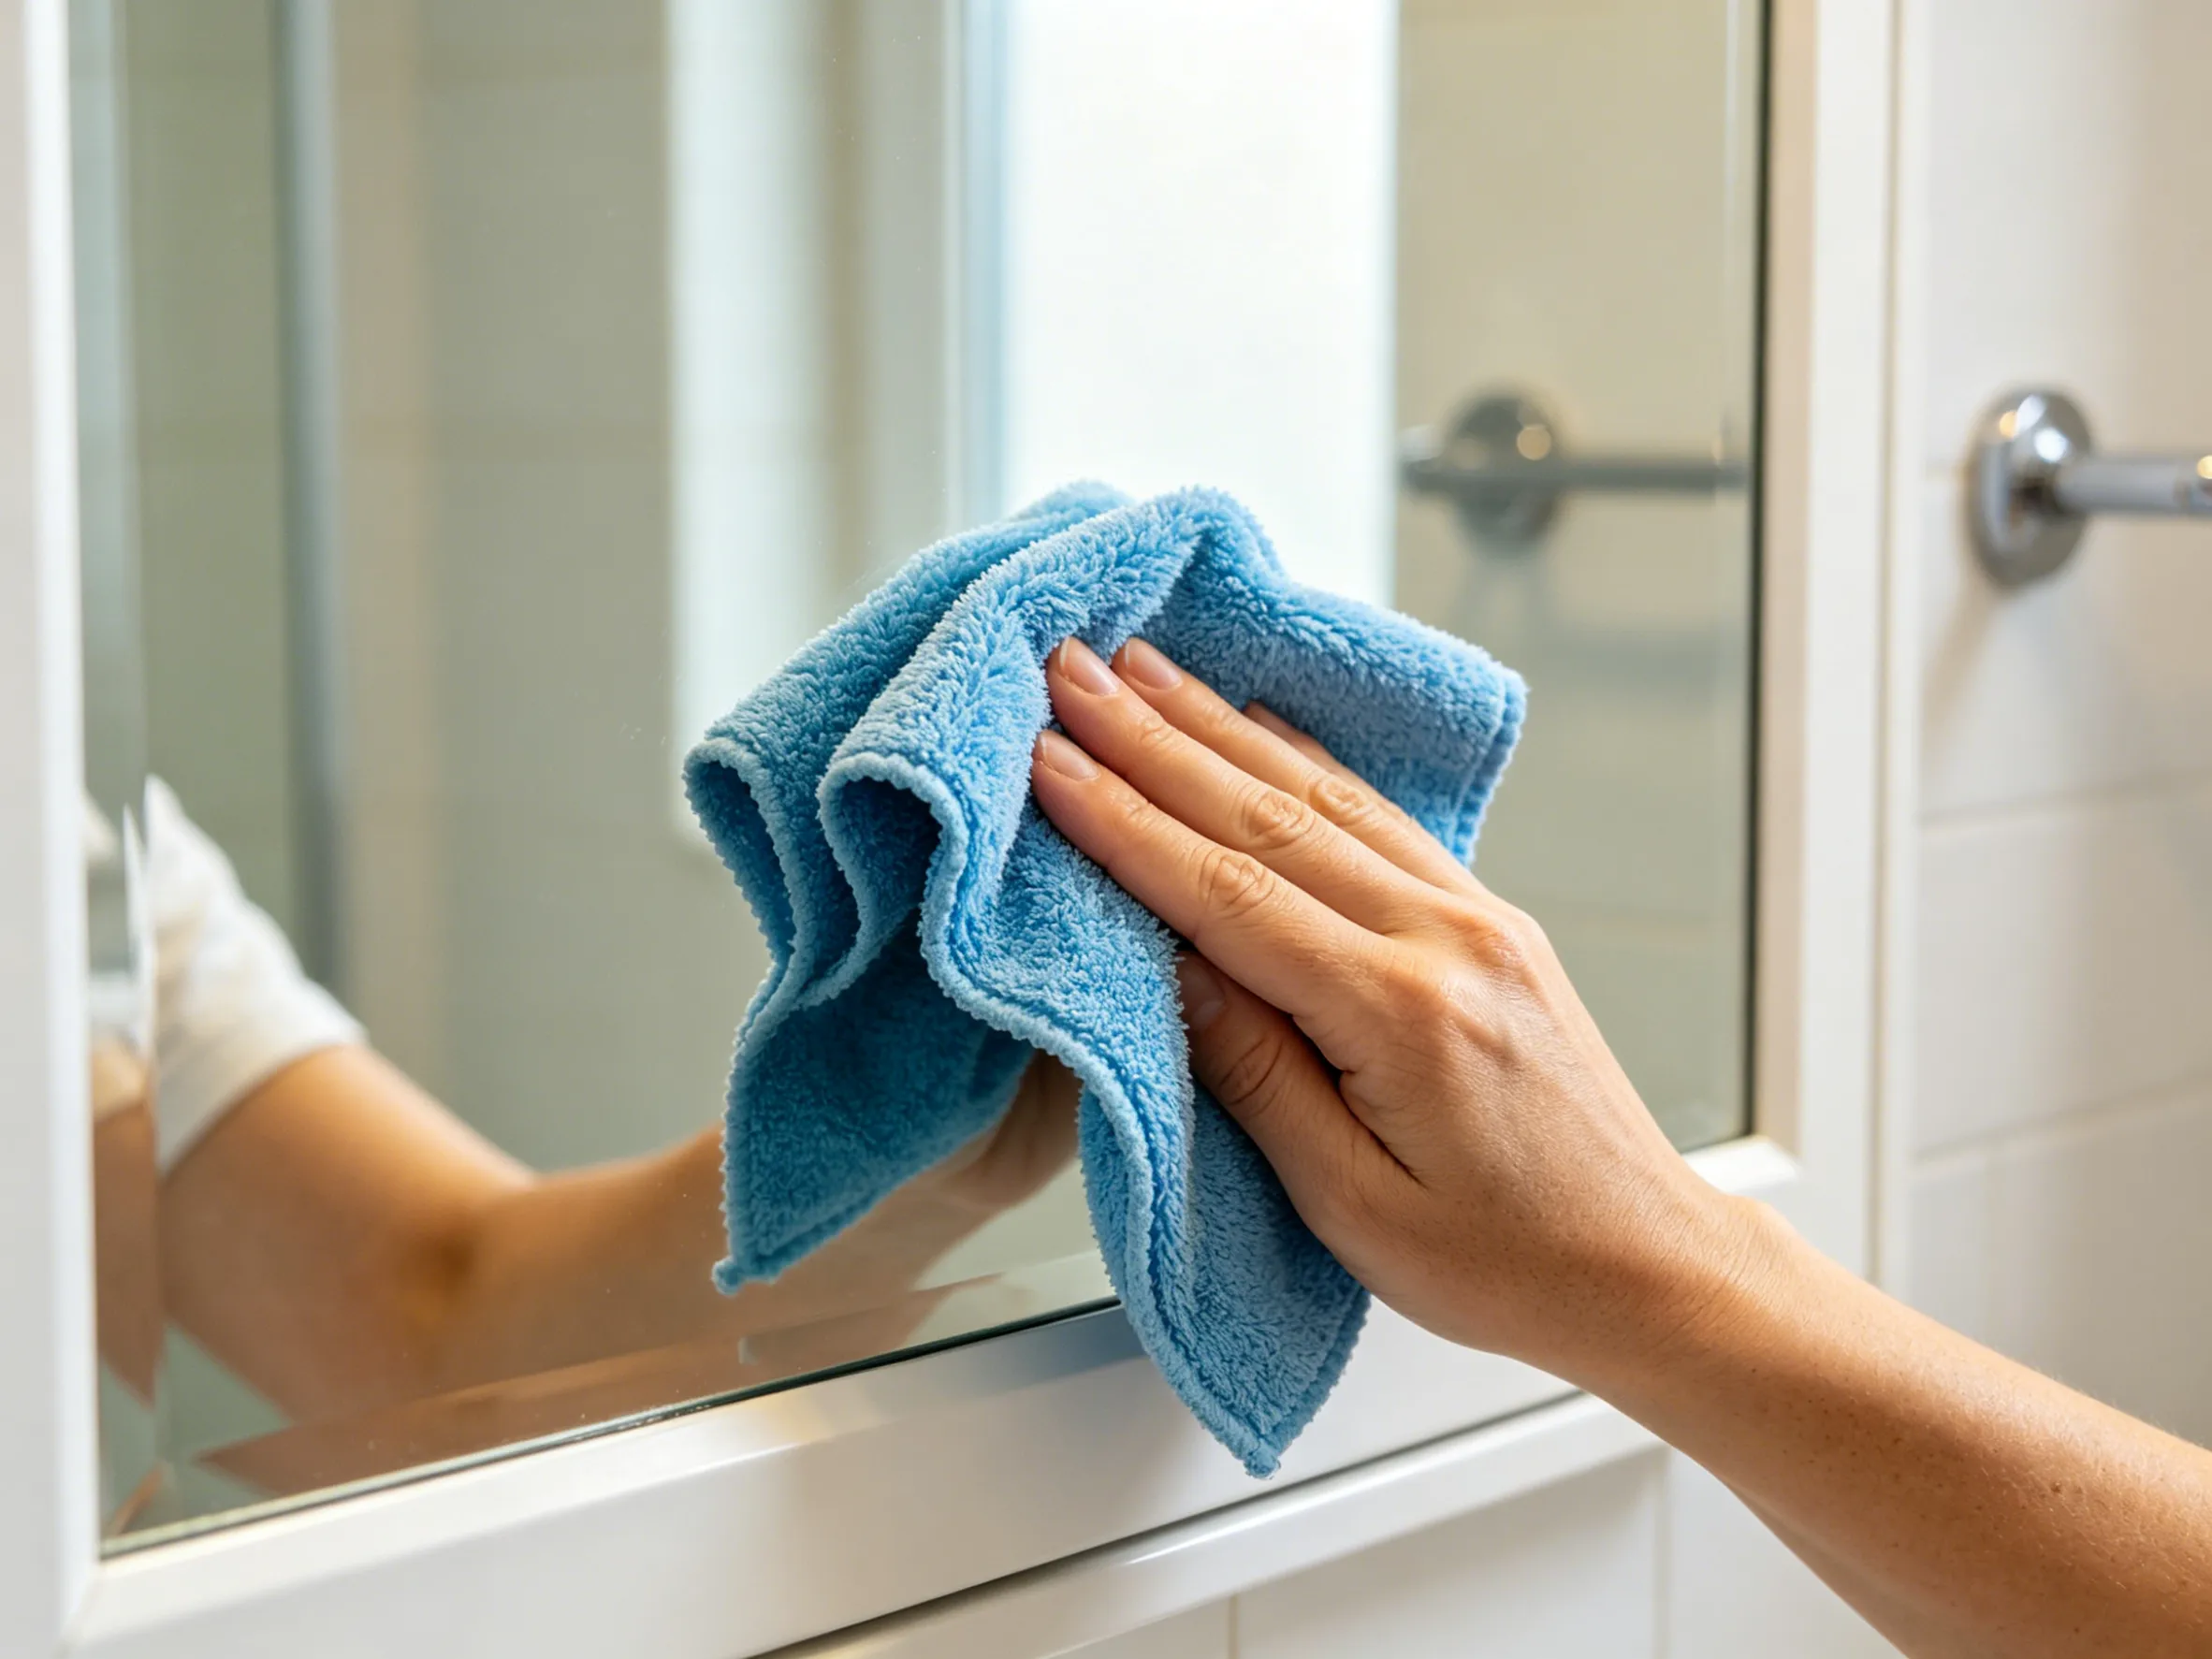
Mirrors: Use a dedicated glass cleaner or a mixture of white vinegar and water. Spray onto the cloth, not the mirror, to prevent liquid seeping behind the silver backing and causing edge corrosion. Buff dry with a clean, dry microfibre cloth for a streak-free finish.
Polishing chrome and metal fixtures: After cleaning, water spots can reappear as the surface dries. Buff chrome taps, shower rails, and handles with a dry microfibre cloth to remove those spots and restore shine. A very small amount of baby oil on a cloth can leave a protective film that resists water spotting, but use this sparingly to avoid a greasy feel.
Replace items thoughtfully: Before putting shampoo bottles and accessories back, take a moment to wipe the bottoms of each bottle. Product residue accumulates on the underside and transfers back onto the surface you just cleaned. This small step significantly extends the clean look of the bathroom.
Products to Use, Products to Avoid
Safe choices:
- White vinegar (acetic acid) for limescale on glass, taps, and ceramic
- Bicarbonate of soda (mild abrasive, deodoriser)
- Citric acid powder (stronger descaler, good for shower heads and kettles)
- Oxygen bleach (sodium percarbonate) for grout and organic stains
- pH-neutral stone cleaner for marble, granite, and limestone
- Microfibre cloths (reduce the need for chemical cleaners)
Avoid or use with extreme caution:
- Chlorine bleach on coloured grout (can cause fading)
- Strong acids on natural stone (will etch the surface permanently)
- Abrasive scouring powders on acrylic baths and plastic surfaces
- Mixing different cleaning products, especially bleach with acids (produces toxic chlorine gas)
How Often Should You Deep Clean?
For a typical household, a deep clean every three to four months is sufficient. However, certain signs indicate a deep clean is overdue: reduced water flow from the shower or tap, visible mould on silicone or grout, a persistent bathroom odour that returns shortly after routine cleaning, or a build-up of limescale that no longer comes off with a standard wipe.
If you live in a hard water area, descaling the shower head and tap aerators every two months prevents the heavy accumulation that becomes difficult to remove later. In humid, poorly ventilated bathrooms, mould treatment may need to happen monthly.
Final Thoughts: Deep Cleaning as Maintenance, Not Just Chores
A bathroom deep clean is an investment in the long-term condition of the space. The effort you put into removing limescale, mould, and embedded grime today directly reduces the time and cost of future cleaning. It also protects the fixtures themselves. A shower valve clogged with limescale will fail earlier than one that is descaled regularly. Silicone seals that are kept free of mould will last years longer before needing replacement. These are not dramatic changes, but over a decade of bathroom use, the cumulative impact is significant.
The routine is simple. Work top to bottom, wet to dry. Let cleaning products sit long enough to do their work. Rinse thoroughly. Dry surfaces that tend to water spot. And take care of the areas that routine cleaning overlooks — extractor fans, aerators, shower tracks, and the hidden folds of silicone. A bathroom that receives this level of attention three or four times a year will look and function better than one that only ever gets a weekly surface wipe.