
Чтобы правильно измерить размеры унитаза, нужно учесть пять параметров: расстояние до монтажной рамы, направление слива, боковой зазор, высота готового пола и ширина дверного проема. Укажите все пять параметров в форме запроса, и тогда большинство претензий по поводу неправильной доставки вообще не возникнет. Один неверный параметр может привести к задержке контейнера.
A contractor in Jeddah bought 300 suites listed as twelve inch rough-in. Nobody measured anything.
The old boxes said twelve inch, so everyone agreed that twelve inch meant twelve inch. Eleven of those bathrooms needed ten inch units, and six needed fourteens. Nobody discovered that until the first crate was opened on the eleventh floor.
The Number on the Box Is Not the Number on the Wall
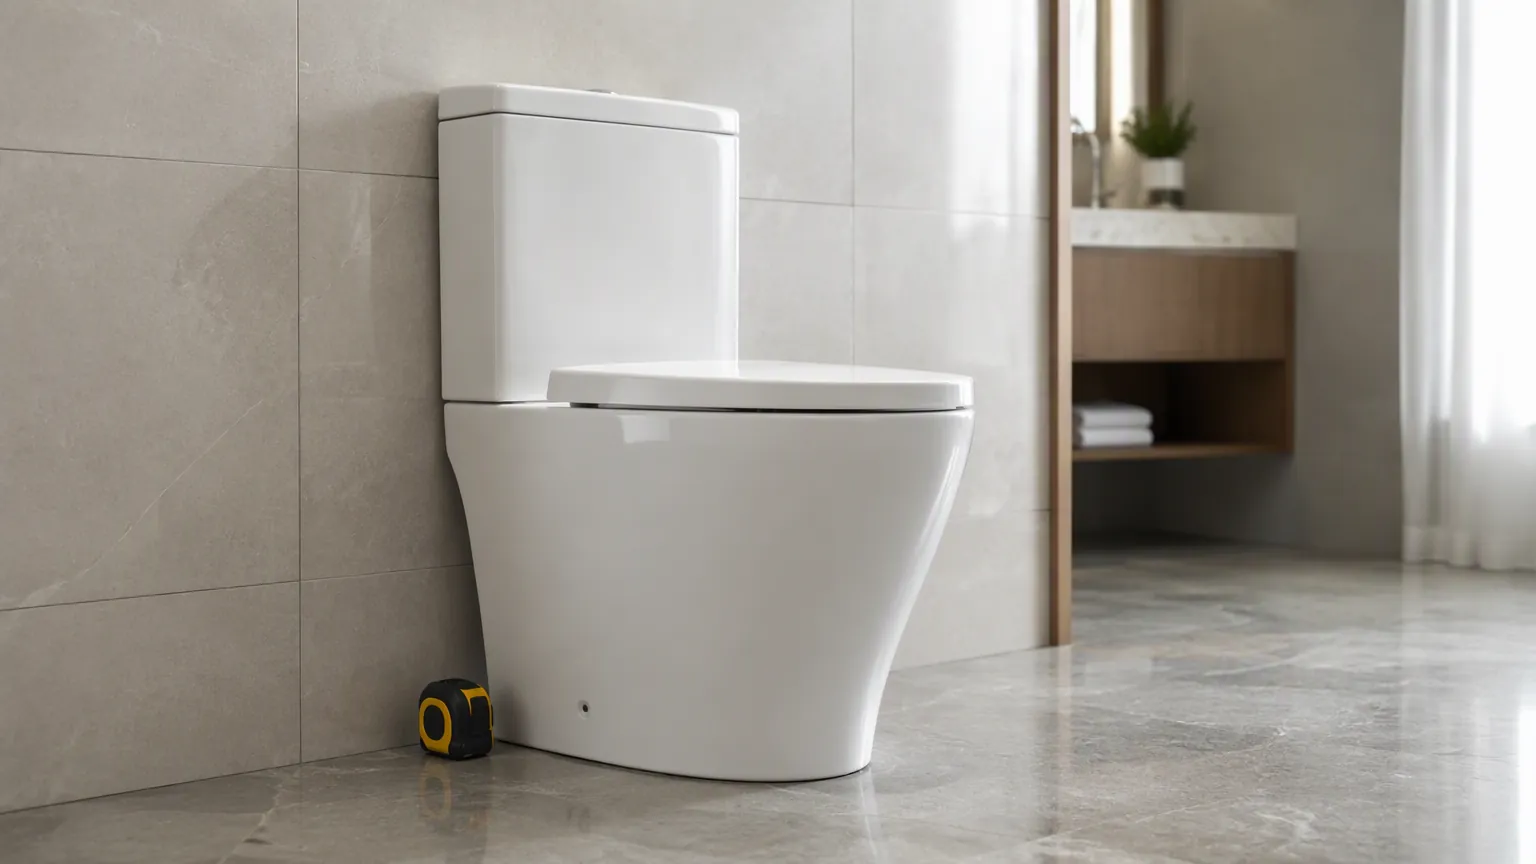
Every catalogue lists a nominal size. In practice three bands cover nearly every model sold today. Those bands are ten inch, twelve inch and fourteen inch, roughly 255 mm, 305 mm and 355 mm.
That figure describes the space a bowl reserves behind itself. A twelve inch unit therefore expects a drain centre near 305 mm from the tiled wall face. Yet no two makers leave the same tolerance at the back of the pan.
A square-back pan sits differently from a curved one. A skirted model hides the trap and forgives almost nothing. So the nominal size only picks candidates, and the tape measure picks the winner.
That is also why tolerance charts matter more than marketing names. Two models listed at twelve inch can differ by 20 mm at the rear of the pan. One may install happily against a 290 mm drain, while the other needs 305 mm and not a millimetre less. Ask for the dimension sheet of the exact model, then compare it with your tape rather than with its neighbours in the catalogue.
This explains why one building often holds three different rough-ins. An internal wall gets skimmed, tiled and boxed. A party wall gets something else. A duct eats another 40 mm out of the room.
How to Measure a Toilet Rough-In
Learning how to measure a toilet takes about fifteen minutes per bathroom type. The trick is starting at the drain rather than at the bowl.
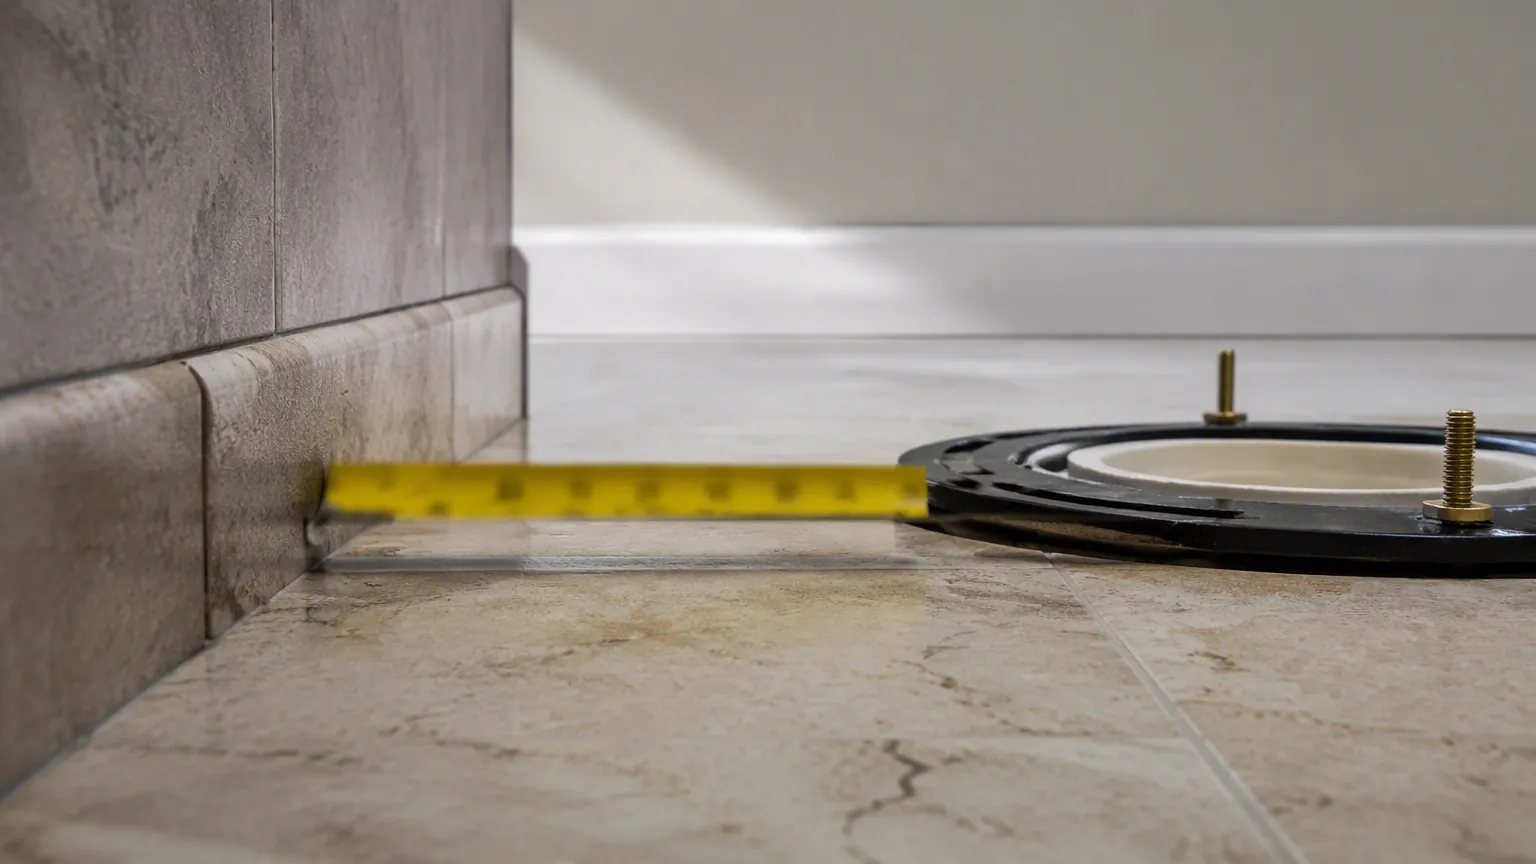
Take off the old unit where you can, because nothing beats seeing the bolts. Find the closet bolts or the flange centre. Lay the tape along the centreline of the pan, square to the wall.
Read from the tiled face to the centre of the bolt slots. Round the figure to the nearest five millimetres. Then write the date beside it, because a number without a date describes a building that no longer exists.
No finished wall yet? Add the build-up you expect. Tile plus adhesive commonly lands between 12 mm and 25 mm. A dot-and-dab plasterboard finish can add more again. Mark that figure as assumed, since the tiler will move it.
Why does this matter so much on a bulk order? Because the failure mode stays silent. A bowl one size too long simply will not seat, so crews shove it until the bolt slots crack.
A bowl one size too short leaves a band of bare wall behind it. The client photographs that band, and the quantity surveyor keeps the photograph. Either way the room stays out of service while everyone argues about drawings.
The Outlet Direction: Floor or Wall
The second number is not a length. It is a direction, and it decides the whole product family.
An S-trap drops straight down through the slab. A P-trap turns and exits horizontally into the wall behind the pan. Both types appear across the Gulf, across Europe and across older stock elsewhere.
You cannot swap one for the other with a piece of pipe, so check it on site. Drawings mislead more often here than anywhere else, primarily because nobody revisits them once the slab is poured.
Identification takes a minute. A floor outlet leaves a flange bolted to the slab, and you can see it once the pan lifts. A wall outlet leaves nothing visible until either the wall opens or somebody photographs during demolition. On a raised floor or podium slab, look underneath before assuming a floor outlet exists.
The porcelain toilet dimensions and rough-in guide sets out every figure behind that check.
Found a mixture across one floor? Read the S-trap versus P-trap comparison before ordering, because one side carries more risk later. Then split the order by measured result.
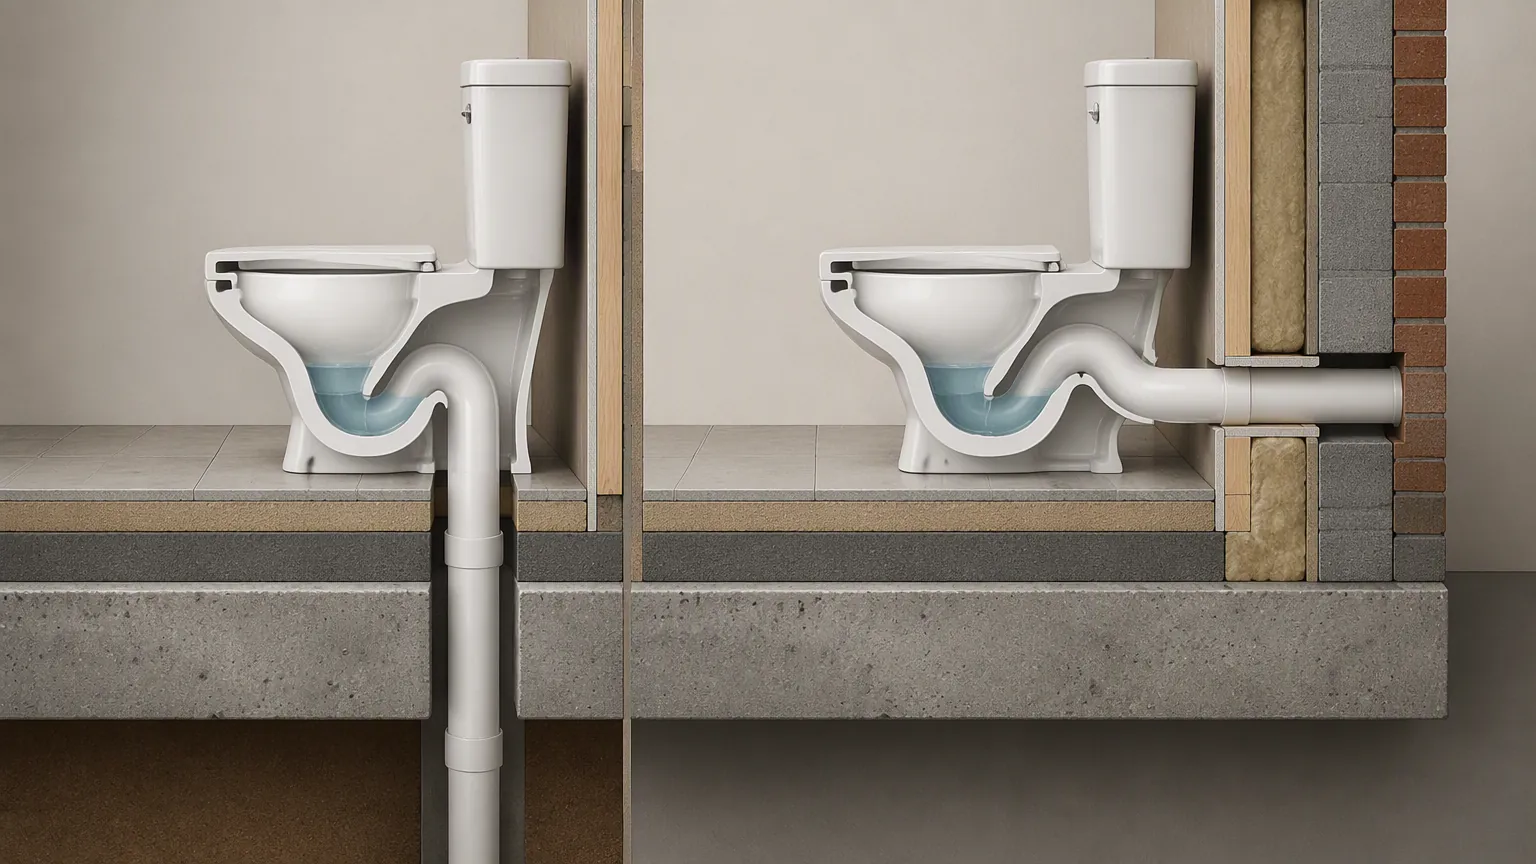
Wall outlets need a third figure, namely the height of the centre above the finished floor. Manufacturers usually build for somewhere between 180 mm and 220 mm, and each model publishes its own drawing. Ask for that drawing before blockwork starts, because a wrong outlet height later becomes structural work.
Side Clearance and the Centreline
Rough-in gets all the attention, while clearance decides whether a room feels usable. Measure from the drain centreline to each finished side wall. Do both sides separately, since rooms rarely stay symmetrical once boxing appears.
In ordinary rooms the working minimum rests near 380 mm from centreline to side wall. Front clearance usually starts around 530 mm. Accessible compartments follow their own rules, which the ADA standards for accessible design set at 405 mm to 455 mm from the side wall. The National Kitchen and Bath Association publishes comparable guidance for general planning.
Neither figure survives a badly placed radiator. Nor does it survive a swing-out towel heater. Measure against the real obstruction rather than against a drawing note, and photograph what you find.
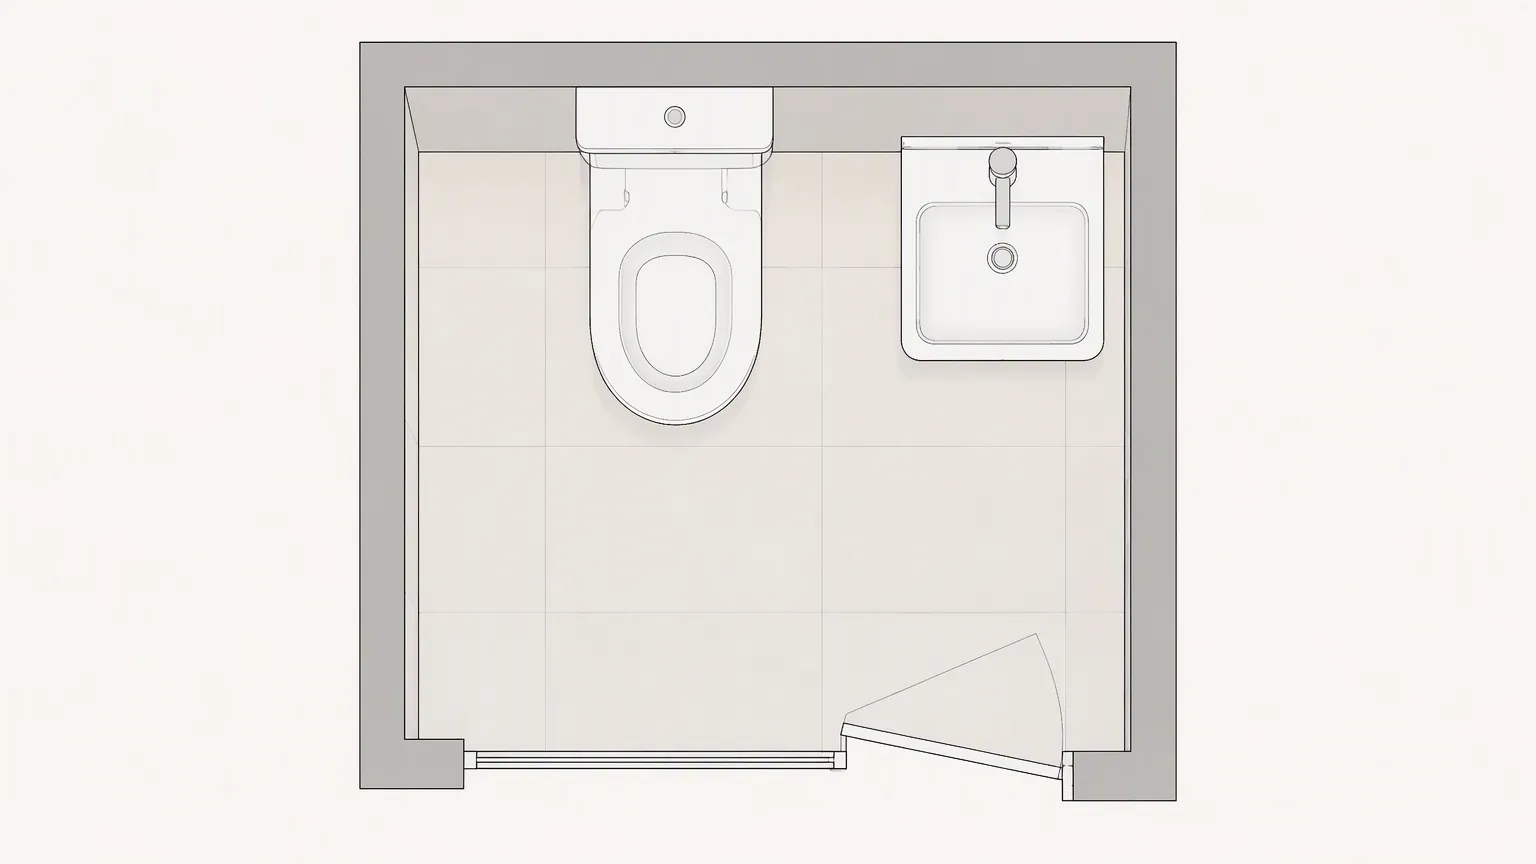
Record this number even when nobody seems to care. A 20 mm shortfall looks harmless on day one. It becomes a complaint during the first week a guest uses the room.
Watch the door leaf at the same time. An inward-opening door that swings over the pan leaves you two choices, namely moving the door or choosing a shorter projection. Short-projection pans exist for exactly this reason, and they cost a little more than a standard bowl. Neither option is expensive before plastering, and both are painful afterwards.
Finished Floor Level and Supply Height
The flange wants to sit on the finished floor, or a shade above it. That is simple when tiles are already down, and pure guesswork while the screed is wet.
Ask for the finished floor level in writing. Then ask what happens to the drain if the floor rises 20 mm. If nobody can answer, no wax ring will rescue it afterwards.
Small plumbing matters too. A stop valve usually sits 150 mm to 200 mm above the finished floor, offset perhaps 150 mm to 250 mm from the centreline. Back-to-wall pans leave very little room behind them, so a proud valve holds the pan off the wall.
Mark that position with tape on site, then photograph it for the file.
Floor falls deserve a look too, since wet rooms slope towards a drain. A pan sitting across that fall can need shimming on the low side, and thick blue nails work better than three stacked tiles. Sort it during first fix rather than on the penultimate day, when the tile setter has already left site.
How to Measure a Toilet With No Finished Floor Yet
Work backwards from the drawing here. Take the distance from slab to specified finished floor level. Add it to the exposed flange height, then confirm whether the chosen bowl tolerates that rise.
Most do not, at least not happily. In practice the safest route is waiting for the screed. The second safest is ordering once a sample room has been finished and photographed.
The Clear Opening From Lorry to Bathroom
The last number concerns the journey. Cartons always exceed the product, and sometimes by 80 mm in the one direction that counts.
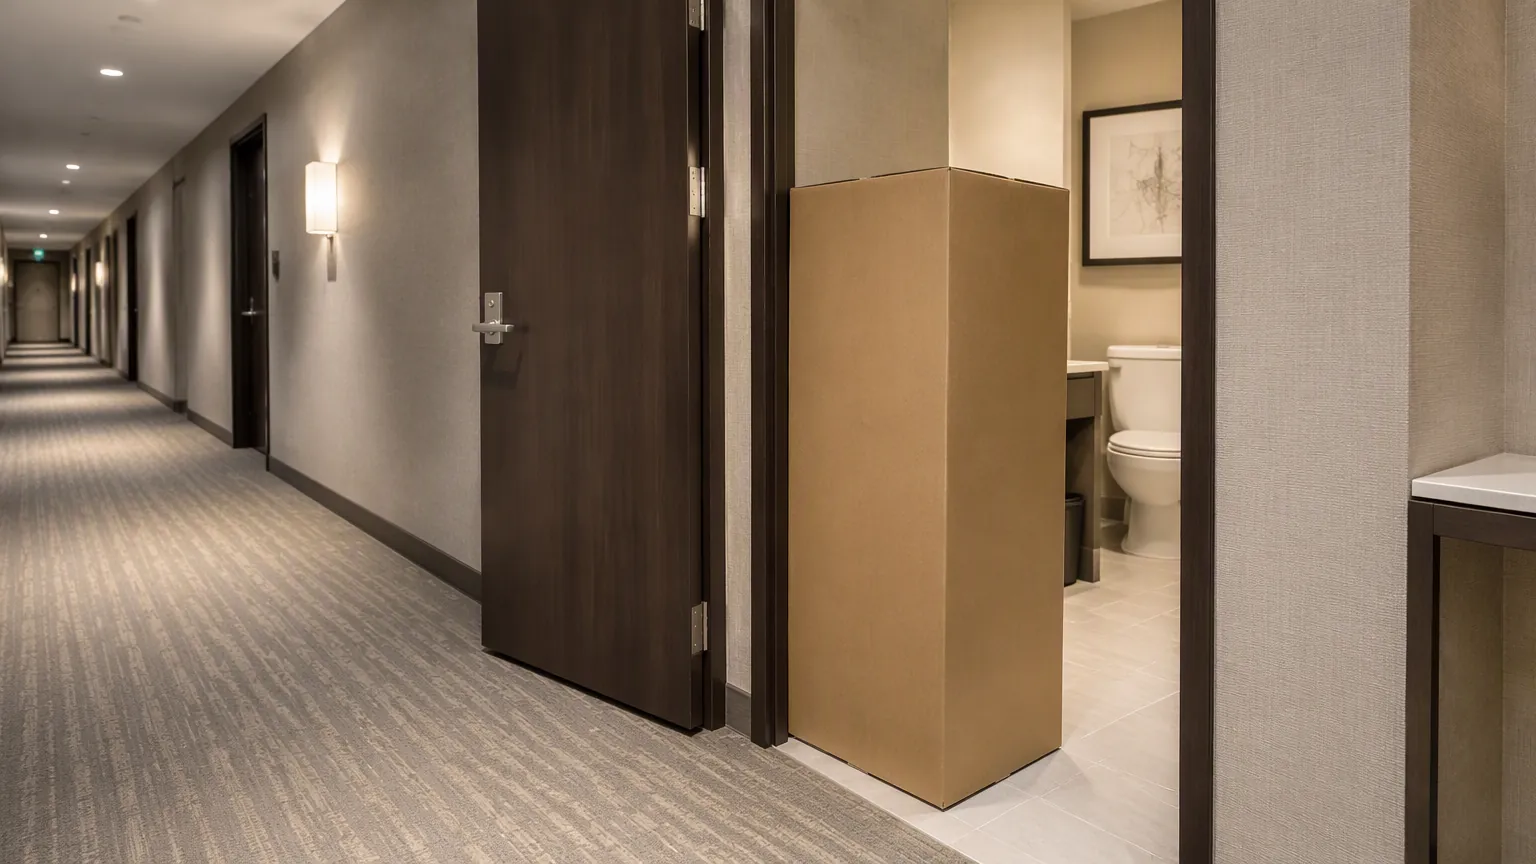
Measure the clear opening of every door along the route. Take it with the leaf open, from the stop to the face of the leaf. A 750 mm door leaf gives roughly 700 mm of clear opening, which surprises people every time.
Check the corridor width next. Check the lift car internal height and its door opening. Look hard at any half-landing where a tall box has to turn, because corners swallow lengths that drawings never show.
One-piece and two-piece units behave differently on this point. A two-piece suite travels as several small cartons that turn anywhere. A one-piece unit arrives as one tall box that needs height far more than width, as the one-piece versus two-piece comparison explains.
Four Mistakes People Make Learning How to Measure a Toilet
Most teams learn how to measure a toilet only after the first pallet lands, which is late. These four mistakes cause nearly every wrong delivery we see.
Reading the old bowl instead of the drain. Old units carry their own nominal size underneath. That size may never have matched the actual hole, because somebody fitted a compromise years ago.
Measuring to the blockwork. Structure, plasterboard, adhesive and tile each add thickness. One ignored layer usually amounts to 20 mm, which is exactly the distance between two size bands.
Trusting the design drawing. Buildings are not built from the drawing; they are built near it. Columns shift, ducts grow, partitions move by half a block. A tape measure settles these disputes faster than any request for information.
Assuming all rooms match. They almost never do. Sample across each floor type first, then group your results. Three size groups on one project is normal, and pretending otherwise is how half a building ends up unfitted.
A 320-Room Order Split in Two
A contractor renovating a 320-room hotel in Doha had what everyone called a twelve inch building. He measured forty rooms across four floor plates before placing anything at all.
Three groups appeared immediately. Two hundred and six rooms measured 300 mm to the finished tile. Eighty-two landed near 285 mm, because a later duct had thickened one wall. Thirty-two sat at 268 mm, and all of them were tower corners.
So he split the order. Twelve inch units went to the largest group, ten inch units to the second, and ten inch units with a short offset adapter to the corners. Nothing went back.
The exercise cost three days of one supervisor’s time. It avoided a return shipment worth more than that supervisor earns in a year, not counting the weeks of delay nobody had budgeted for either.
How to Measure a Toilet in an Occupied Room
Some rooms cannot be stripped, yet the rough-in figure still matters. Knowing how to measure a toilet without dismantling the pan saves a day of labour per wing.
Start with the back face of the existing pedestal. Measure from the finished wall to that face, then add the trap projection shown on the maker’s drawing. Where the old unit stays in place, read its model code from under the seat or inside the cistern lid.
Cross-check that code against the same model in a room already opened up. Are those pans sound, with only seats or cistern internals failing? Then skip a full replacement entirely, and read the toilet bowl replacement decision guide first. It saves clients money more often than suppliers enjoy admitting.
The Five Numbers on the Enquiry Form
Put the following five lines on the enquiry rather than in an email thread.
- Rough-in: ____ mm measured to finished wall face
- Outlet: floor S-trap, or wall P-trap at ____ mm above finished floor
- Side clearance: ____ mm left, ____ mm right of centreline
- Available projection: ____ mm from wall to walkway edge
- Clear door opening on route: ____ mm, corridor ____ mm wide
Add two photographs for each bathroom type. Take one square to the pan showing the wall, and one from above showing the floor. Bulk orders get quoted from drawings, yet they get manufactured from numbers, and photographs settle arguments quickly. On large quantities the bulk porcelain toilet buying guide shows how those figures feed the price breaks.
Six Questions Buyers Ask About How to Measure a Toilet
Buyers raise the same six questions every time, so here they are.
Is twelve inch rough-in the standard?
It is the commonest nominal size, and it covers most modern stock. Ten inch and fourteen inch models exist for older buildings and re-tiled rooms.
Tile or blockwork, which one?
Always the finished face, meaning tile, skirting and any boxing the pan will meet. Structure means nothing once the room is lined.
Can an adapter fix a short rough-in?
Yes for a small gap, and adapters earn their keep at 10 mm. Anything larger pushes the pan into the room and adds a joint nobody can inspect later.
What if half the rooms differ?
Split the order by group and label cartons by room range. Hold around five percent extra of each size for breakage and forgotten rooms.
How does a wall-hung unit measure?
Earlier and differently, since bracket height, wall depth and finished floor must agree before closing. Bolt spacing governs it, not rough-in, so treat it as a separate measurement exercise.
Who pays when the number is wrong?
Usually whoever took it. Write the measured figures into the purchase order, and both sides know exactly where they stand.
Pre-Shipment Checklist for Measured Orders
- Measure rough-in to the tiled wall face
- Record whether the waste drops or exits
- Note clearance on both sides of the pan
- Confirm finished floor level in writing
- Check valve height against back-to-wall pans
- Walk the full route with a tape measure
- Group every room by measured result
- Photograph one typical room per group
- Match every model to its packing group
What One Wrong Number Costs
The expensive part is never the unit price. It is the second freight movement, plus storage while everybody argues. Add the rooms that cannot be handed over, and the supervisor who emails for two weeks instead of running the job.
On a 300-unit order one wrong size class typically strands thirty to sixty units. That is a container nobody budgeted for, sitting in a port nobody chose.
Adapters look like the cheap escape, and sometimes they are. An offset flange costs a few currency units, yet it lifts the pan, adds a joint, and shifts the outlet by 25 mm or so. Use one to save a single room, and never to rescue half a floor. Nobody enjoys learning how to measure a toilet twice, especially with a client standing in an empty bathroom.
Therefore measure once, on site, against finished surfaces. Measure again before loading, because tiling crews can move a wall 15 mm in the final week. Send the room schedule and those five numbers to our team, and ask for the drawing of any model sitting within 20 mm of a size boundary. Five minutes spent reading that drawing has rescued more projects than any clause in a specification.
References
- U.S. Access Board. ADA Standards for Accessible Design (2010)
- National Kitchen and Bath Association. Bathroom planning guidelines and clearance practice
- International Association of Plumbing and Mechanical Officials. Plumbing codes and product listing
- Wikipedia contributors. Flush toilet
- Wikipedia contributors. Toilet